Replacing the Screen on the Lenovo Thinkpad X220
Back in 2011, I purchased a Thinkpad X220 to replace my aging Thinkpad T61. It’s a great laptop, serving me well for just about four years now! Unfortunately, my screen recently began exhibiting the “vertical line” issue, which is basically a vertical strip of discoloration along a part of the screen. You can read more about this common issue on Thinkpad Forums, Notebook Review, or this Youtube video.
After four years without any major problems, my X220 was finally showing its age. However, it’s really easy to replace the LCD panel on the X220 (or any Thinkpad for that matter)!
Tools required:
- a small Philips screwdriver
- a flat-head screwdriver(for prying)
Finding the Correct Replacement LCD
Lenovo provides a system service parts list document for most of their products. Each document contains a diagram of all the components and information about each part. This is part of the diagram from the X220 System Parts List:
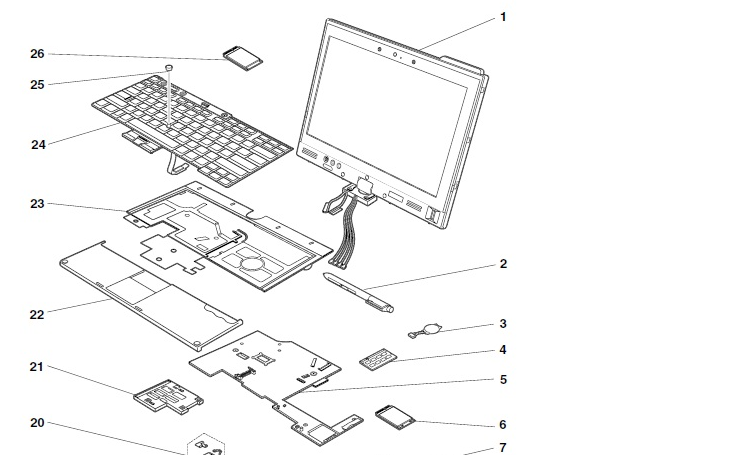
Navigating through the diagram, I found the LED Premuim LCD Service Parts List. (Note: This is for X220s with the IPS screen option.) By clicking the LCD panel on the diagram, I was redirected to the following table:
| LCD panel, 12.5-in. HD LED backlight | |||
|---|---|---|---|
| Product ID | FRU | CRU | |
|
4286-CTO, 23x, 24x, 25x, 36x, 37x, 3Ux, 3Yx, 42x, 4Nx, 4Qx
4287-CTO, 2Ax, 2Dx, 2Ex, 2Fx, 2Lx, 2Mx, 2Sx, 2Tx, 3Hx, 3Kx, 3Px, 3Qx, 4Rx, 4Vx, 4Wx,59x, 5Ax, 5Xx, 5Yx, 6Cx, 6Fx, 6Gx 4289-CTO 4290-CTO, 2Hx, 2Jx, 2Mx, 2Nx, 2Qx, 2Wx, 33x, 34x, 35x, 3Xx, 3Zx, 42x, 47x, 48x, 4Fx,4Lx, 4Sx, 4Tx, 4Ux, 4Xx, 4Yx, 4Zx, 52x, 53x, 57x, 58x, 5Gx 4291-CTO, 2Ex, 2Ux, 2Vx, 2Wx, 2Zx, 42x, 47x, 48x, 49x, 4Ax, 4Bx, 4Cx, 4Xx |
93P5675 | N | |
Let’s break down and define each section:
| Product ID: | The Product ID can be found on a sticker underneath the laptop, over to the left. Depending on the configuration of the laptop, this ID will vary. |
|---|---|
| Field Replaceable Unit (FRU) ID: | An FRU ID is a 7-digit number used to identity specific components in a system. Service technicians can use this number to easily find and ensure a direct replacement for a defective part. |
| Customer Replaceable Unit (CRU) ID: |
A CRU ID is a single-digit number used to specify the difficulty level of replacing a component in a system for a customer. The following describes what each value means:
1 = easy to replace with little or no tools 2 = more difficult to replace N = customer should not replace |
My Product ID happens to be 4286-CTO. However, the table tells us it doesn’t matter what the Product ID is. The FRU is the same for all of them! Using the FRU, 93P5675, it should be relatively easy to find a suitable replacement for my broken LCD panel!
Shopping for a Good LCD
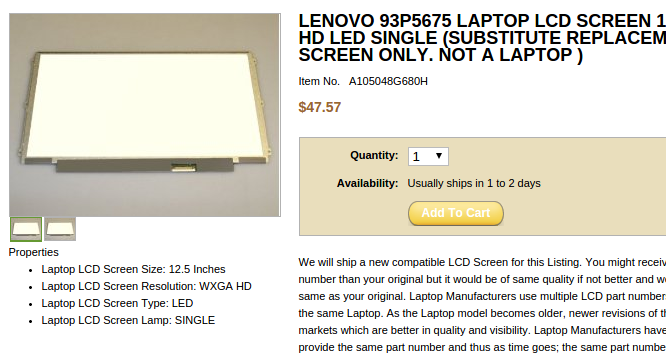
There are several places online you can find decent replacement laptop components. I’ve only had experiences buying LCDs from two stores: Screen Country and East Coast LCDs. Both are really easy to use and have decent pricing. A quick search for the FRU on East Coast LCDs led me to the exact LCD panel I needed!
There are many other online vendors that sell replacement parts (eBay, Amazon, AliExpress). A simple Google search of the FRU yields some pretty good results!
As of now, the average price for an X220 replacement LCD is about $45-$70, shipped.
LCD Panel Removal and Replacement
Lenovo provides instructions on how to remove and replace the LCD in the X220 Hardware Maintenance Manual. I found this Youtube video extremely helpful.
The following is my step-by-step process.
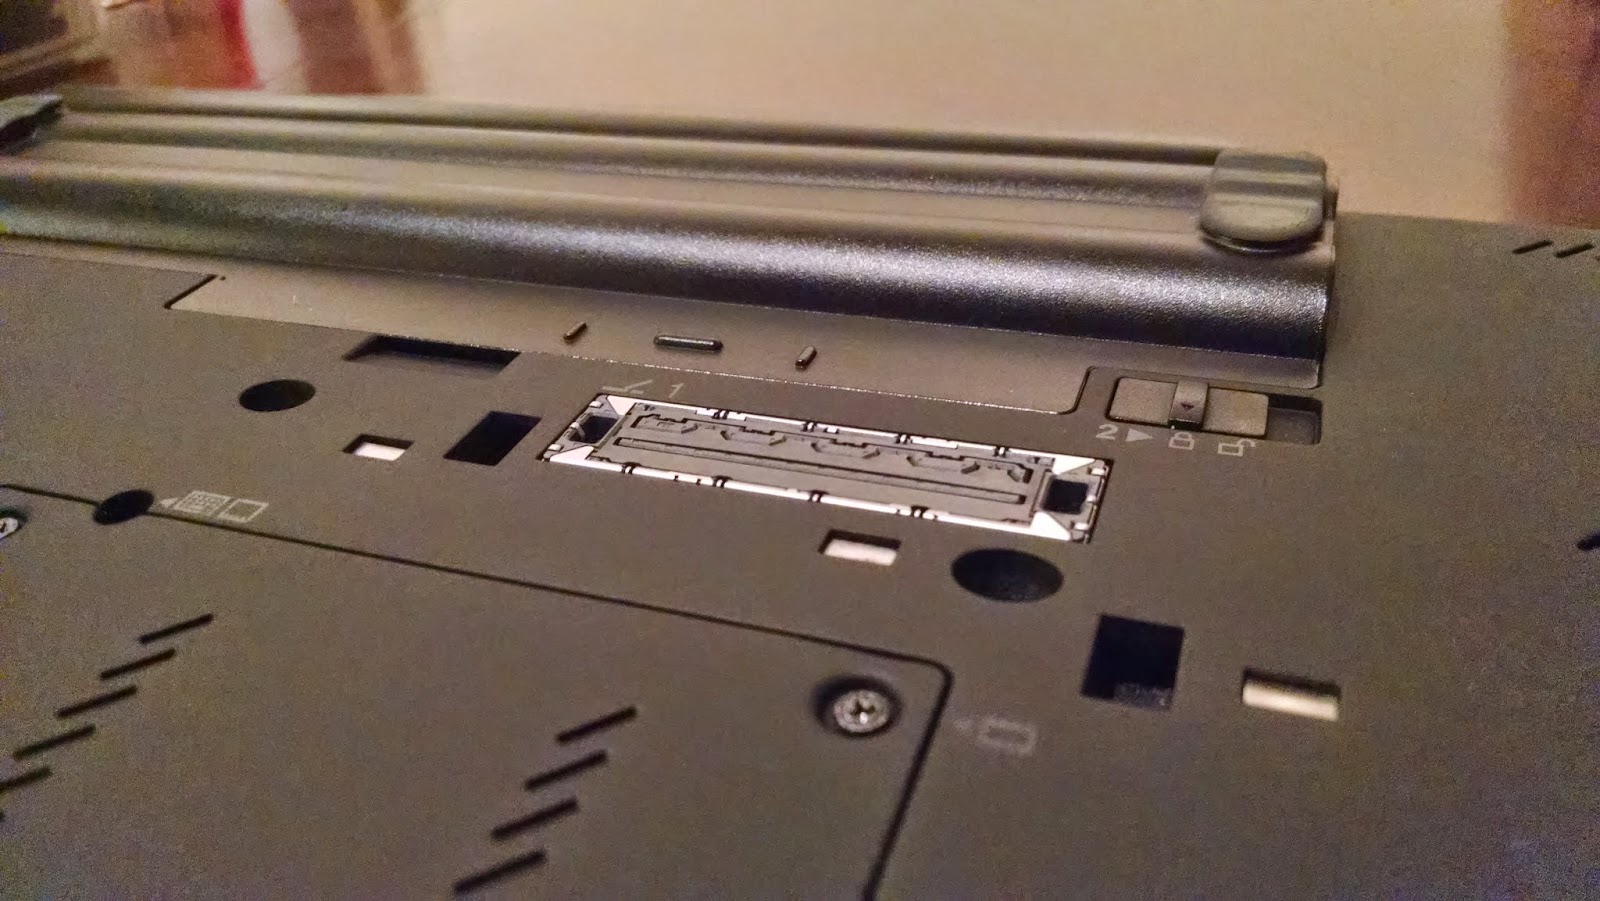
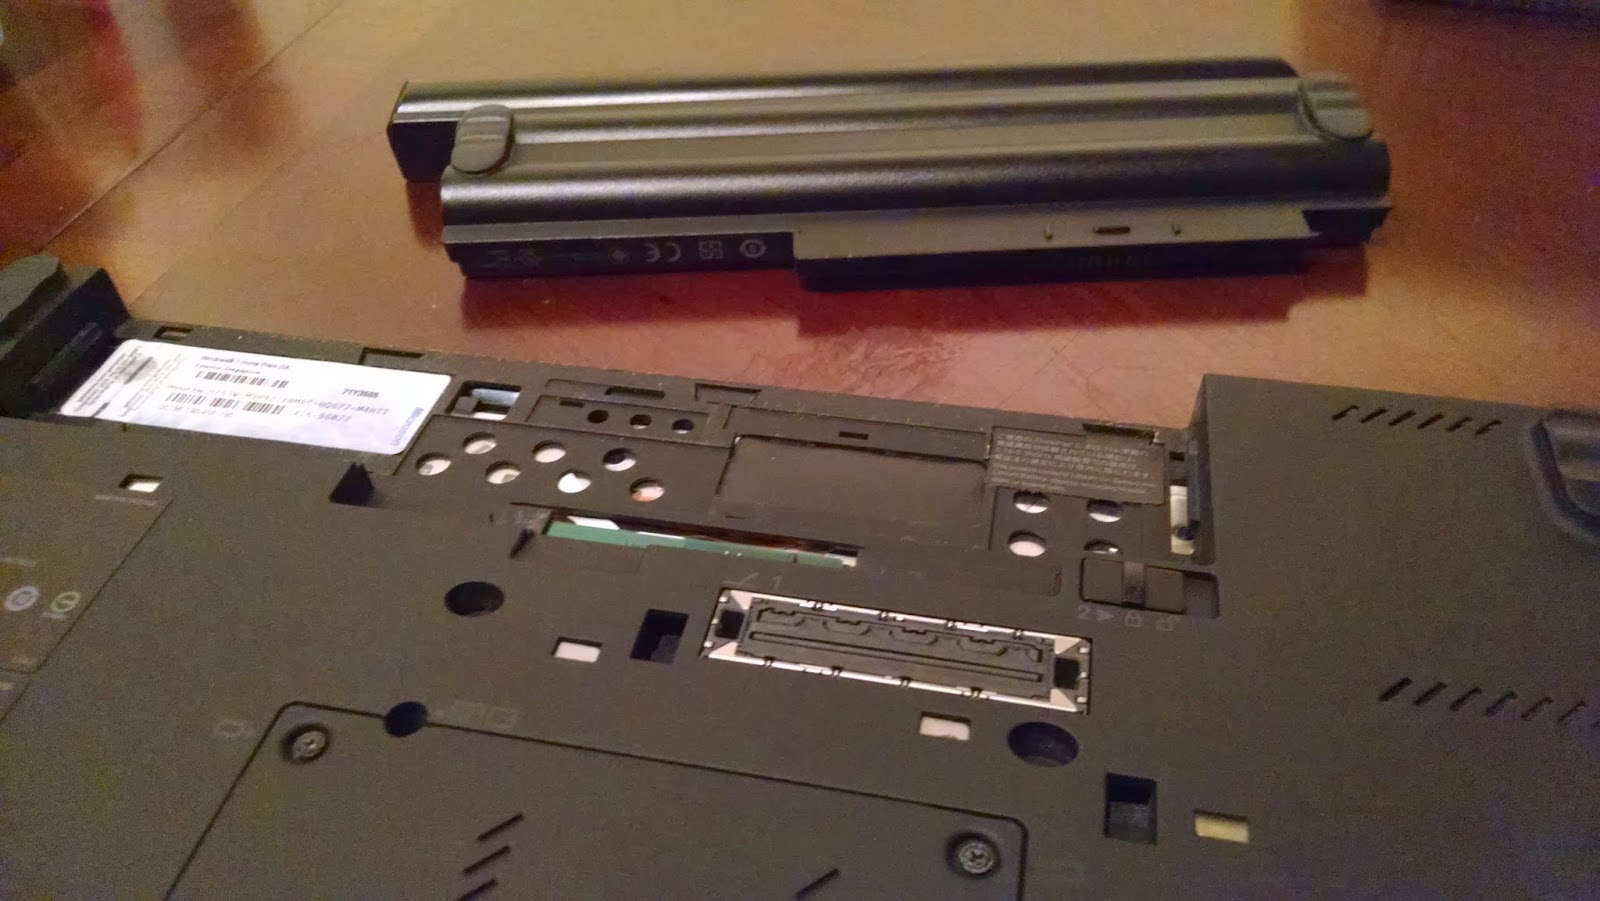
Remove the battery.
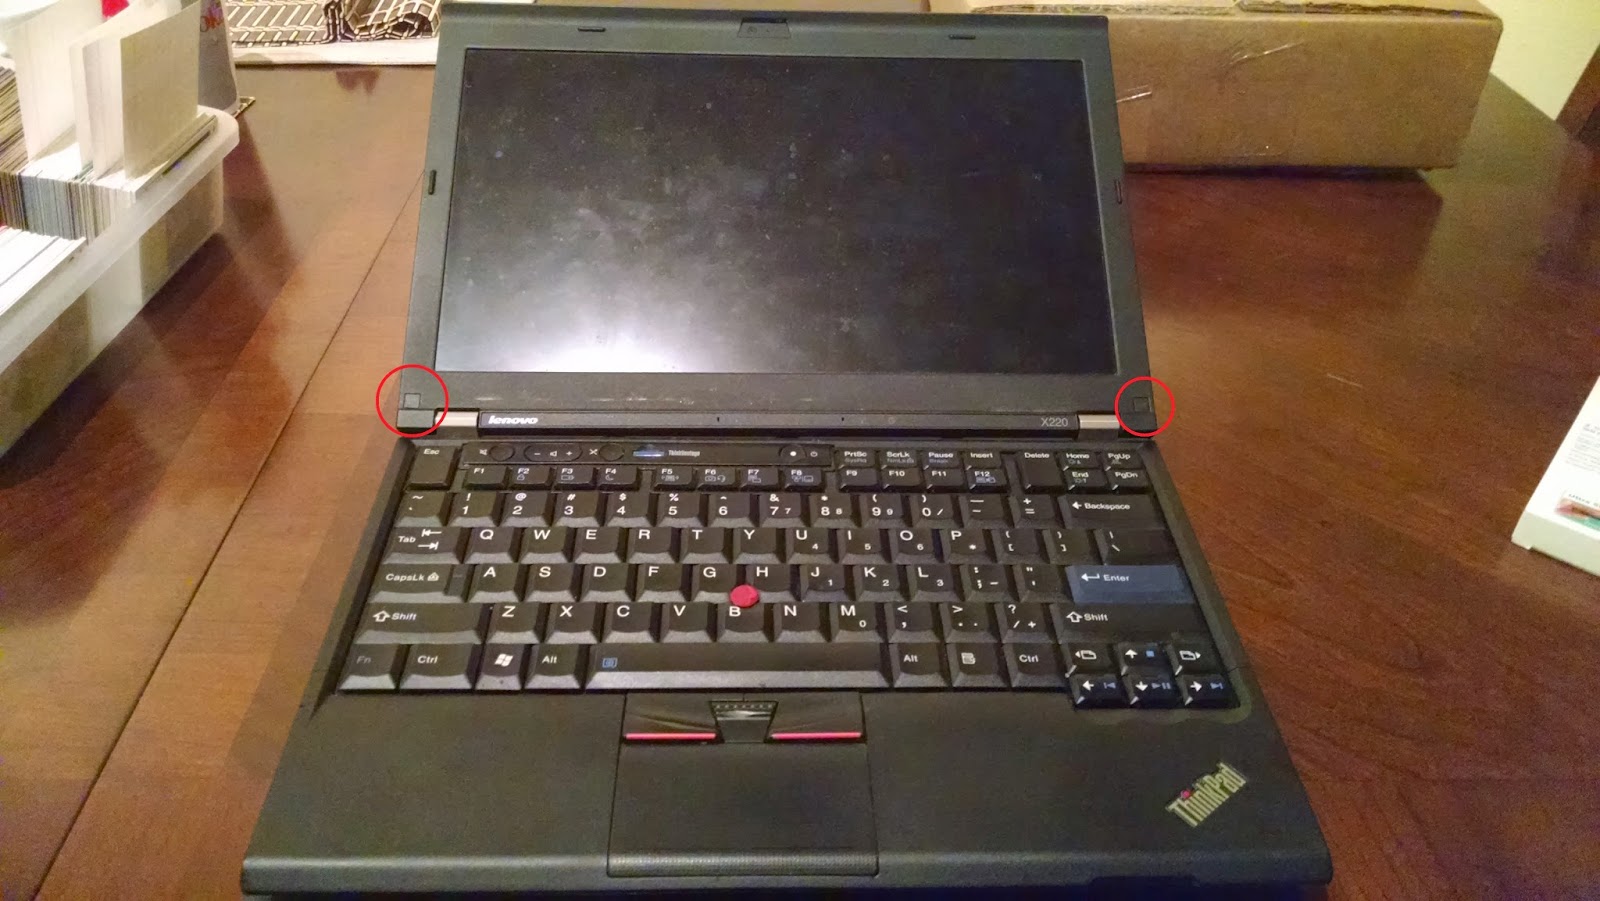
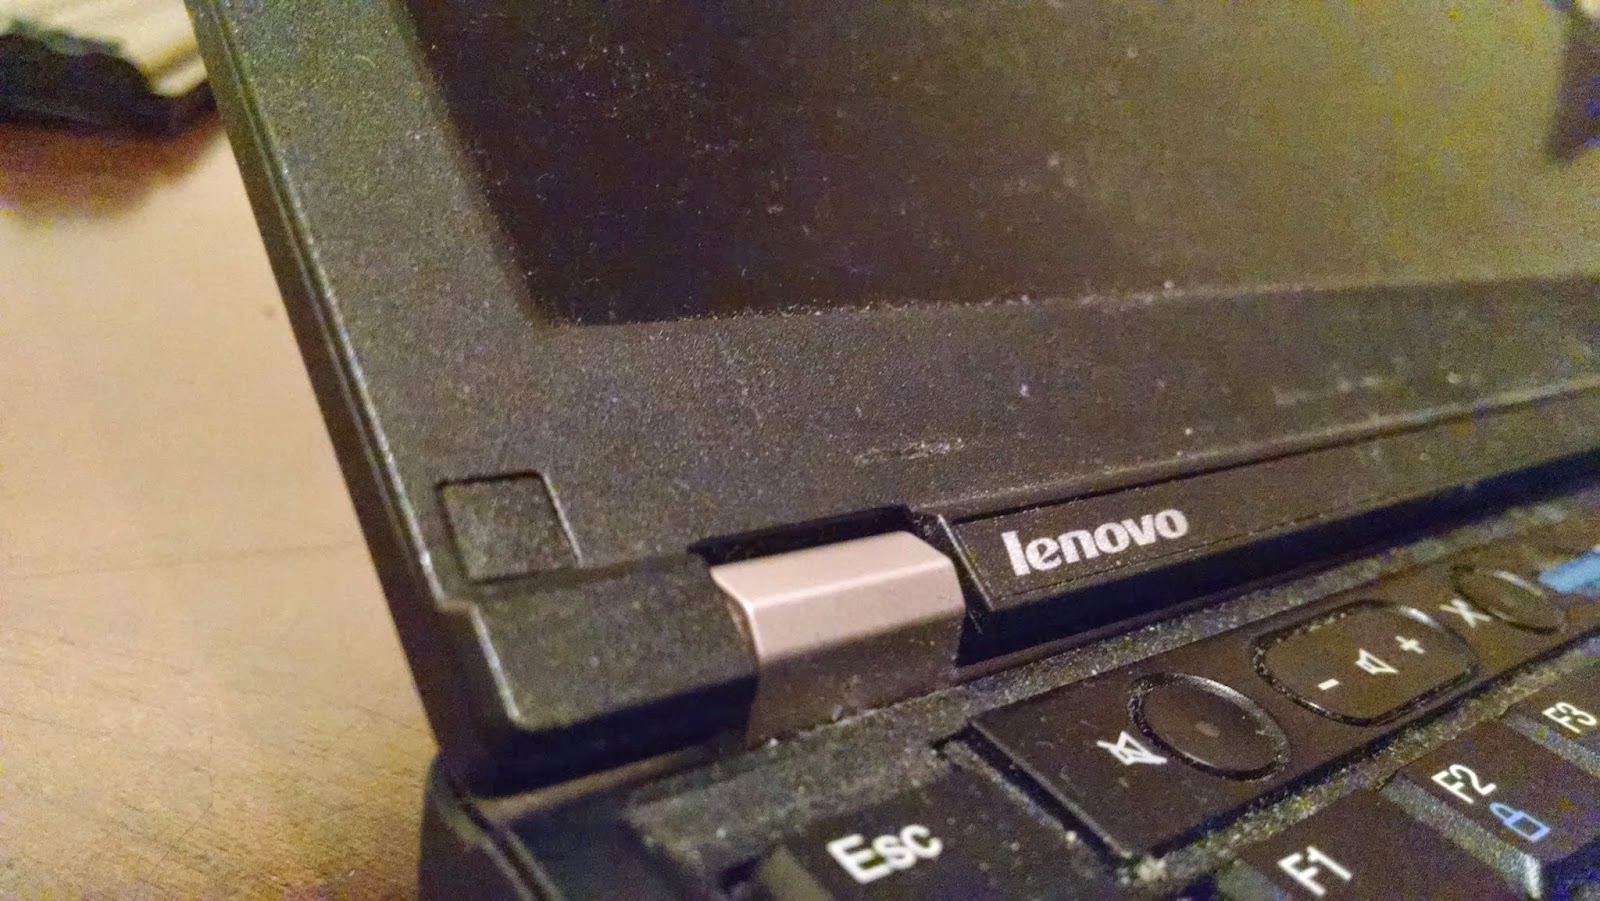
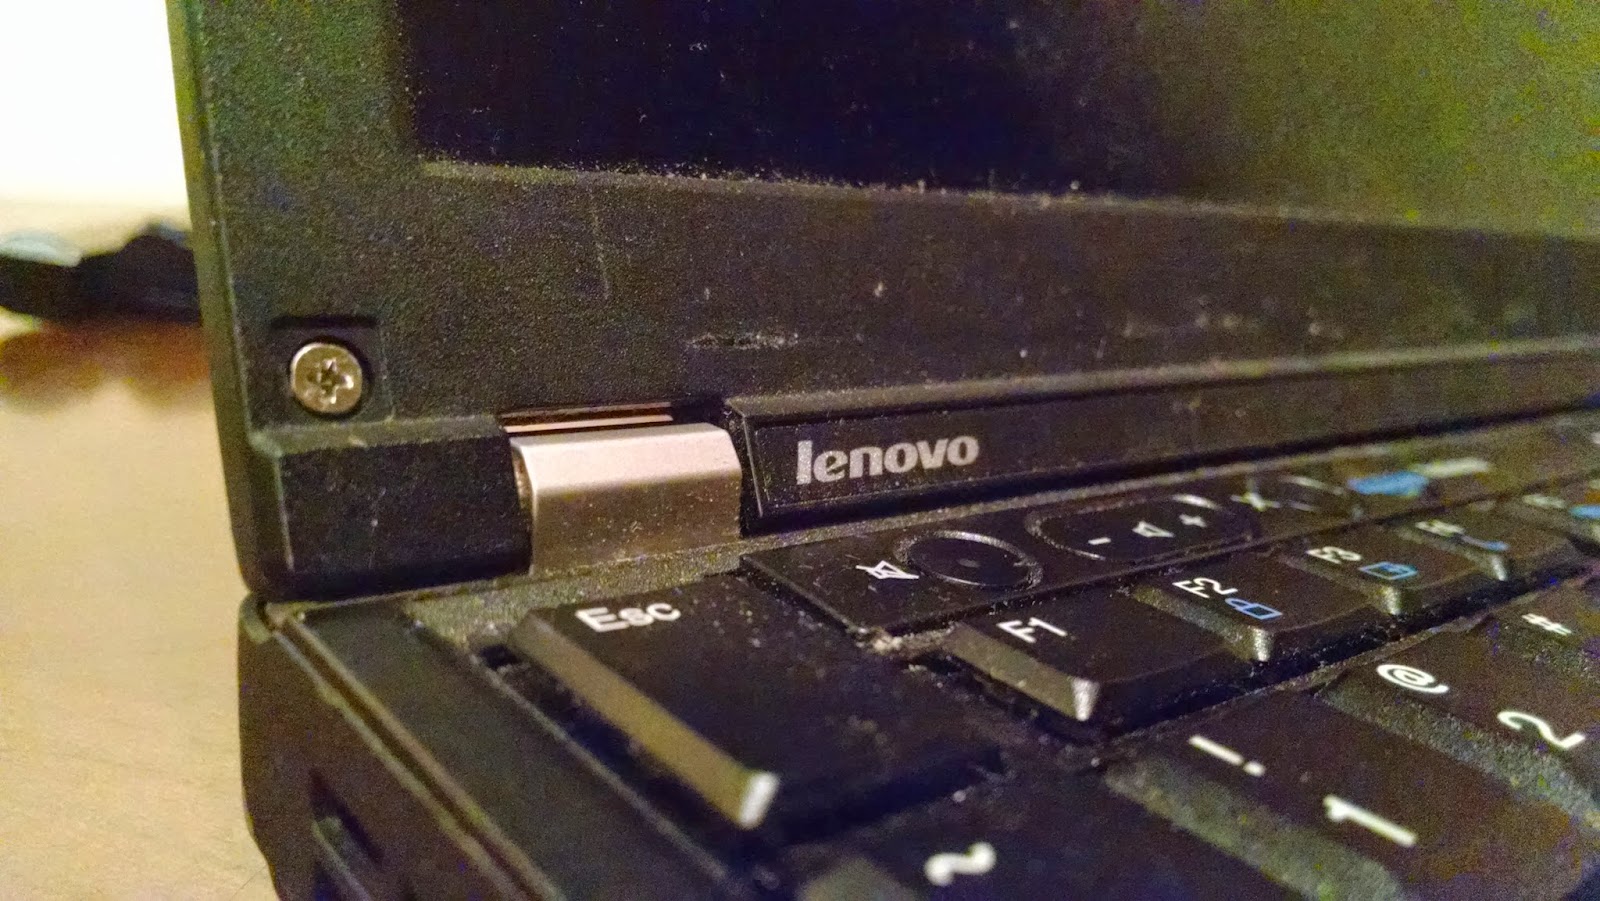
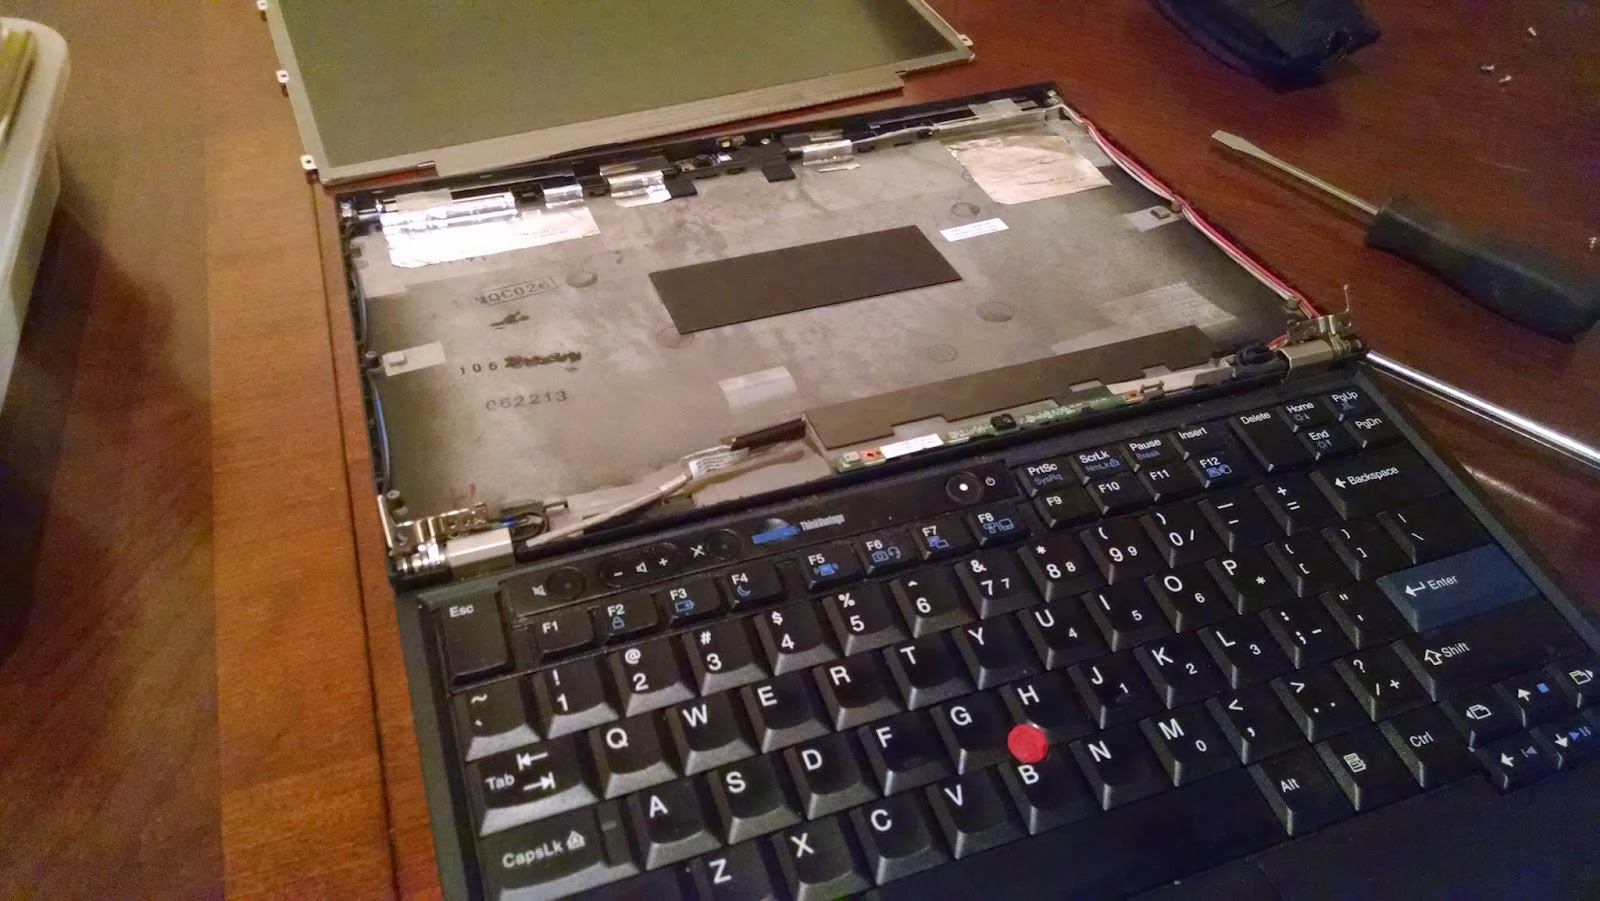
Using a flat-head screwdriver (or knife), gently pry off the screw covers on the front bezel of the LCD housing.

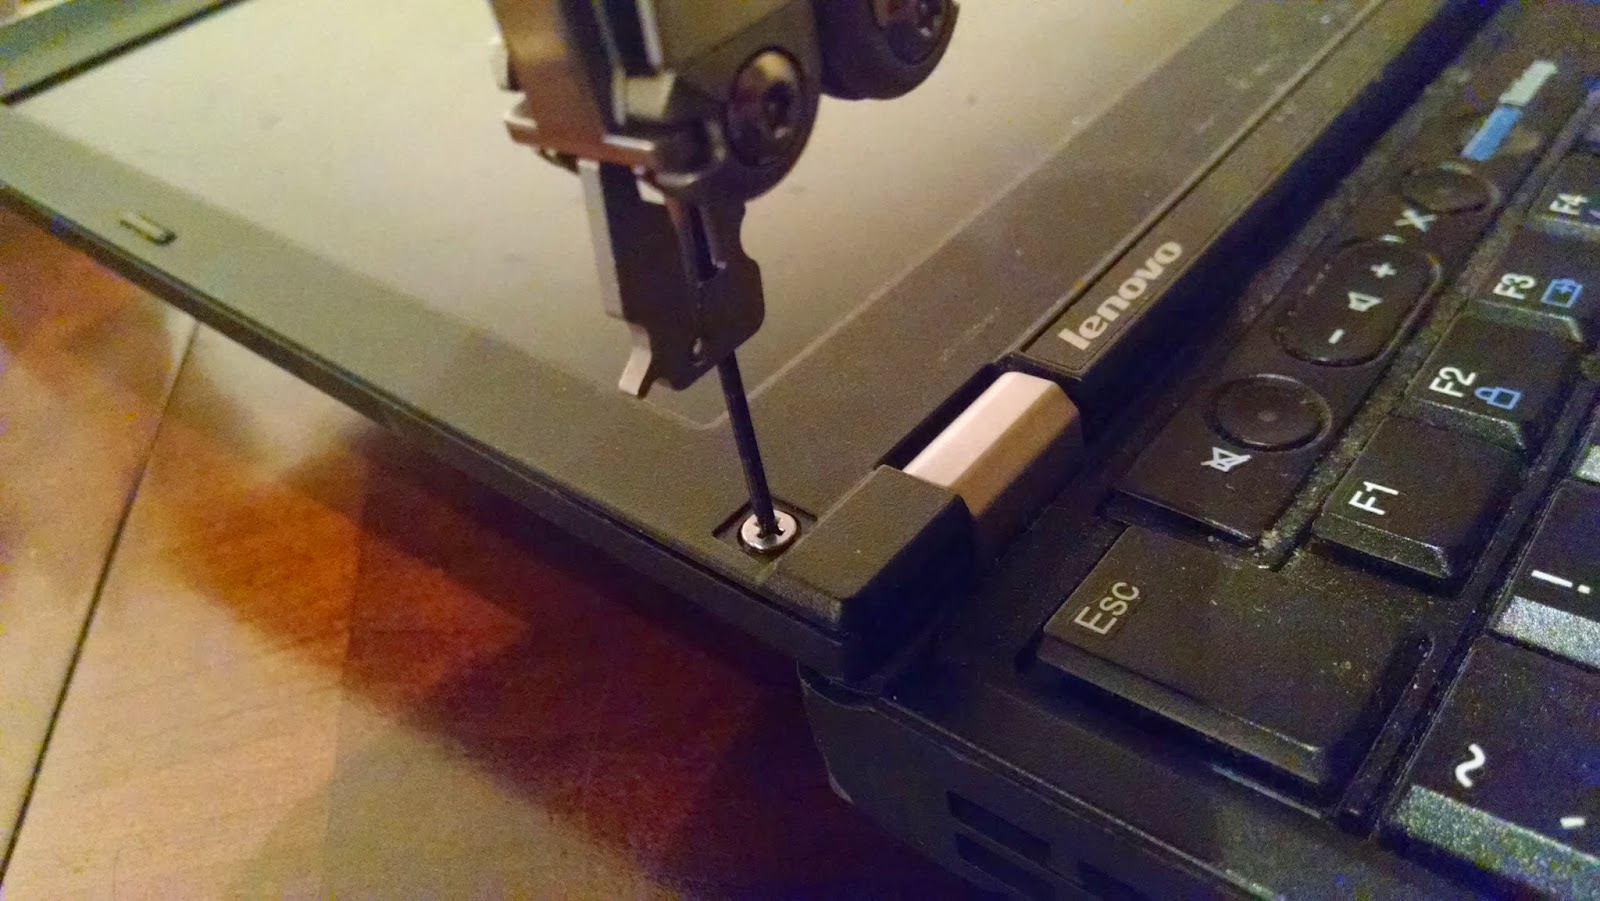
Using a Philips screwdriver, remove the screws holding the bezel in place.
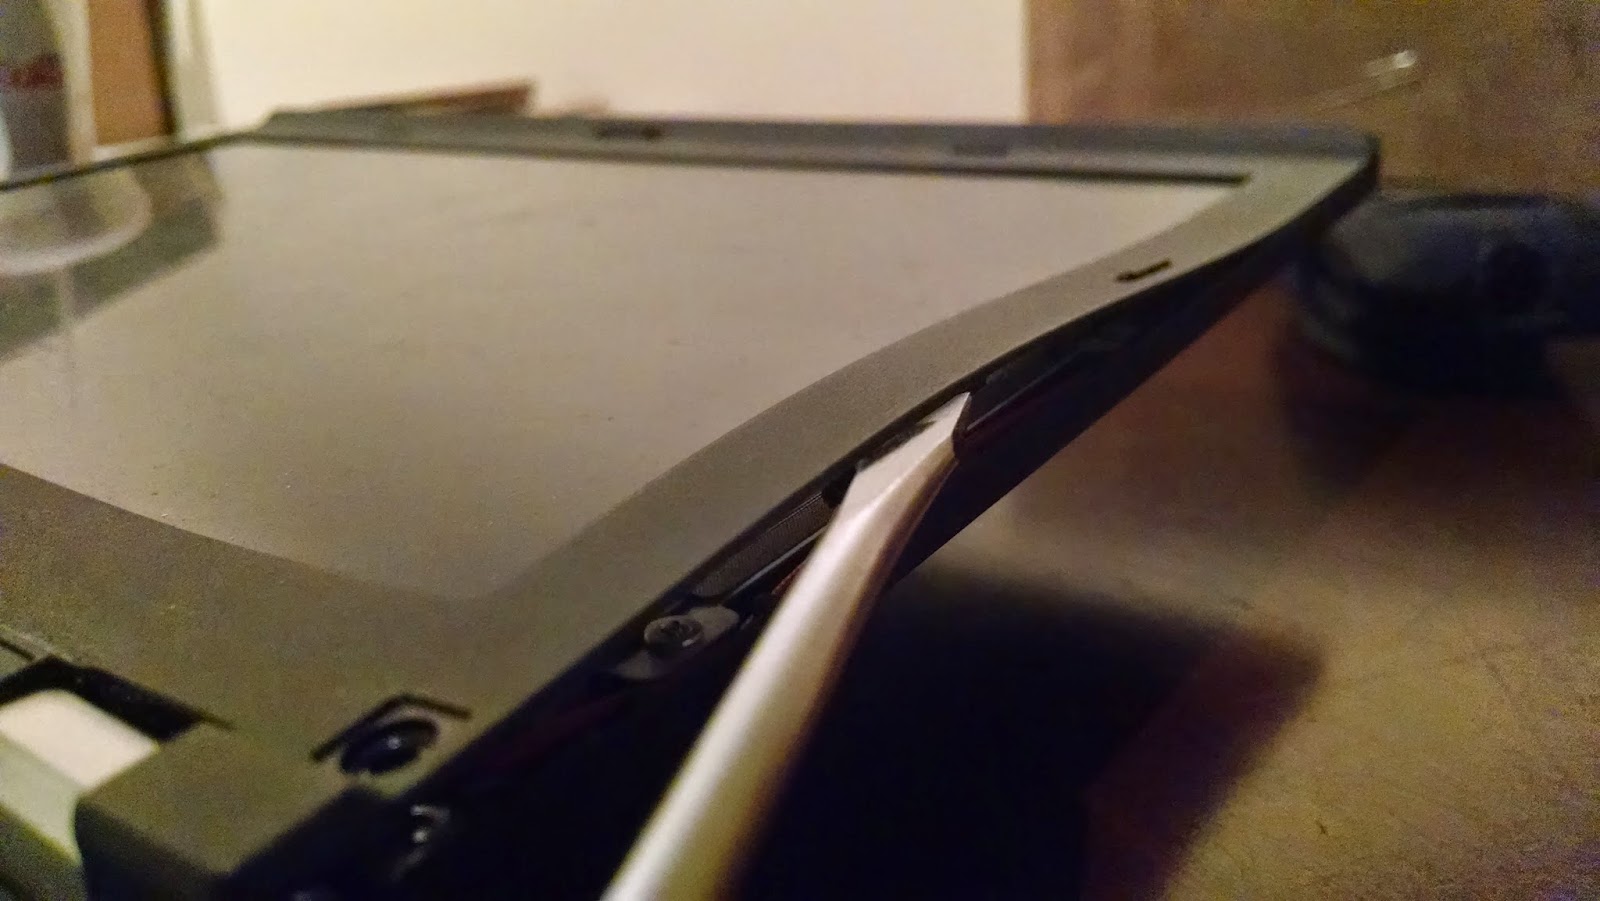
With the aid of a flat-head screwdriver, gently pop the bezel off along the edges. The bottom is tricky. Be patient!


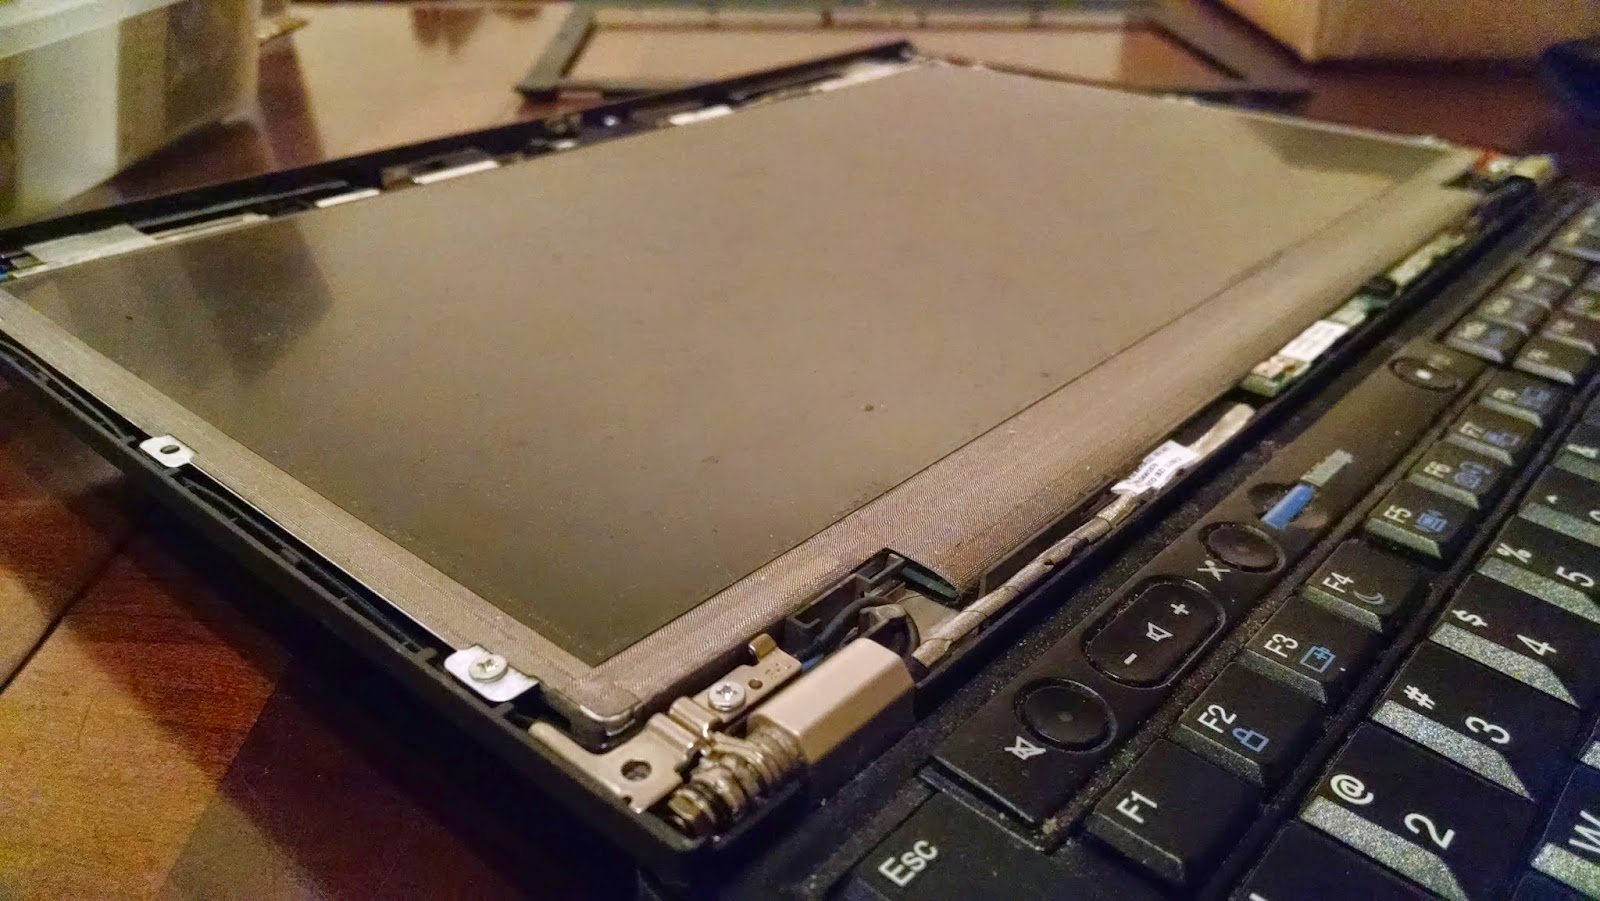
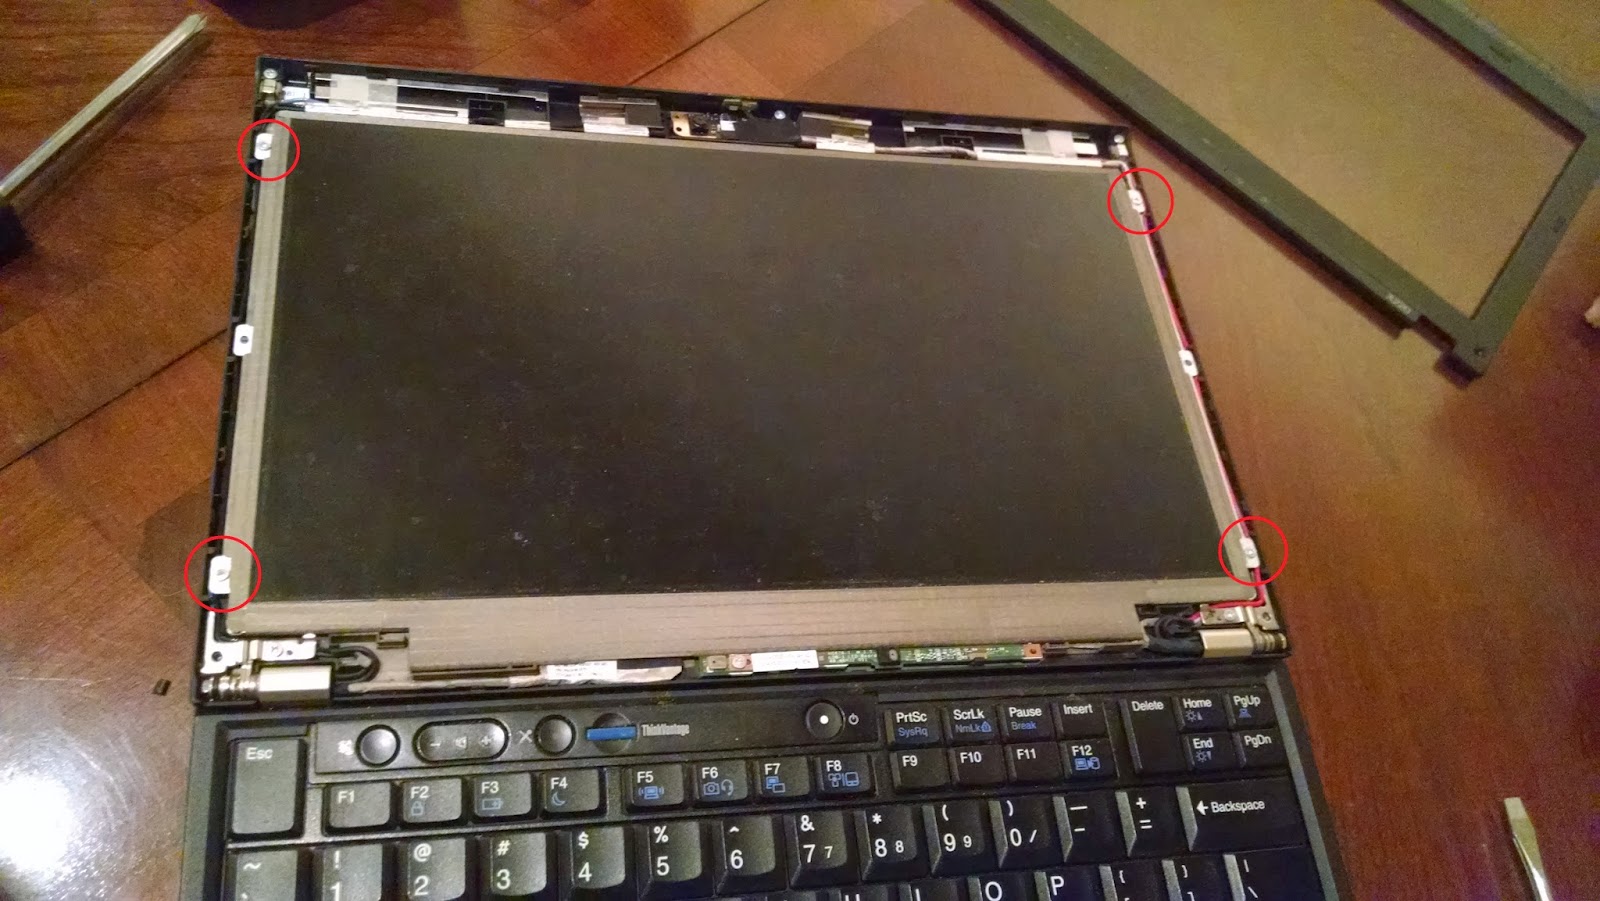
There are four screws holding the LCD panel to the housing. Remove these with a Philips screwdriver.
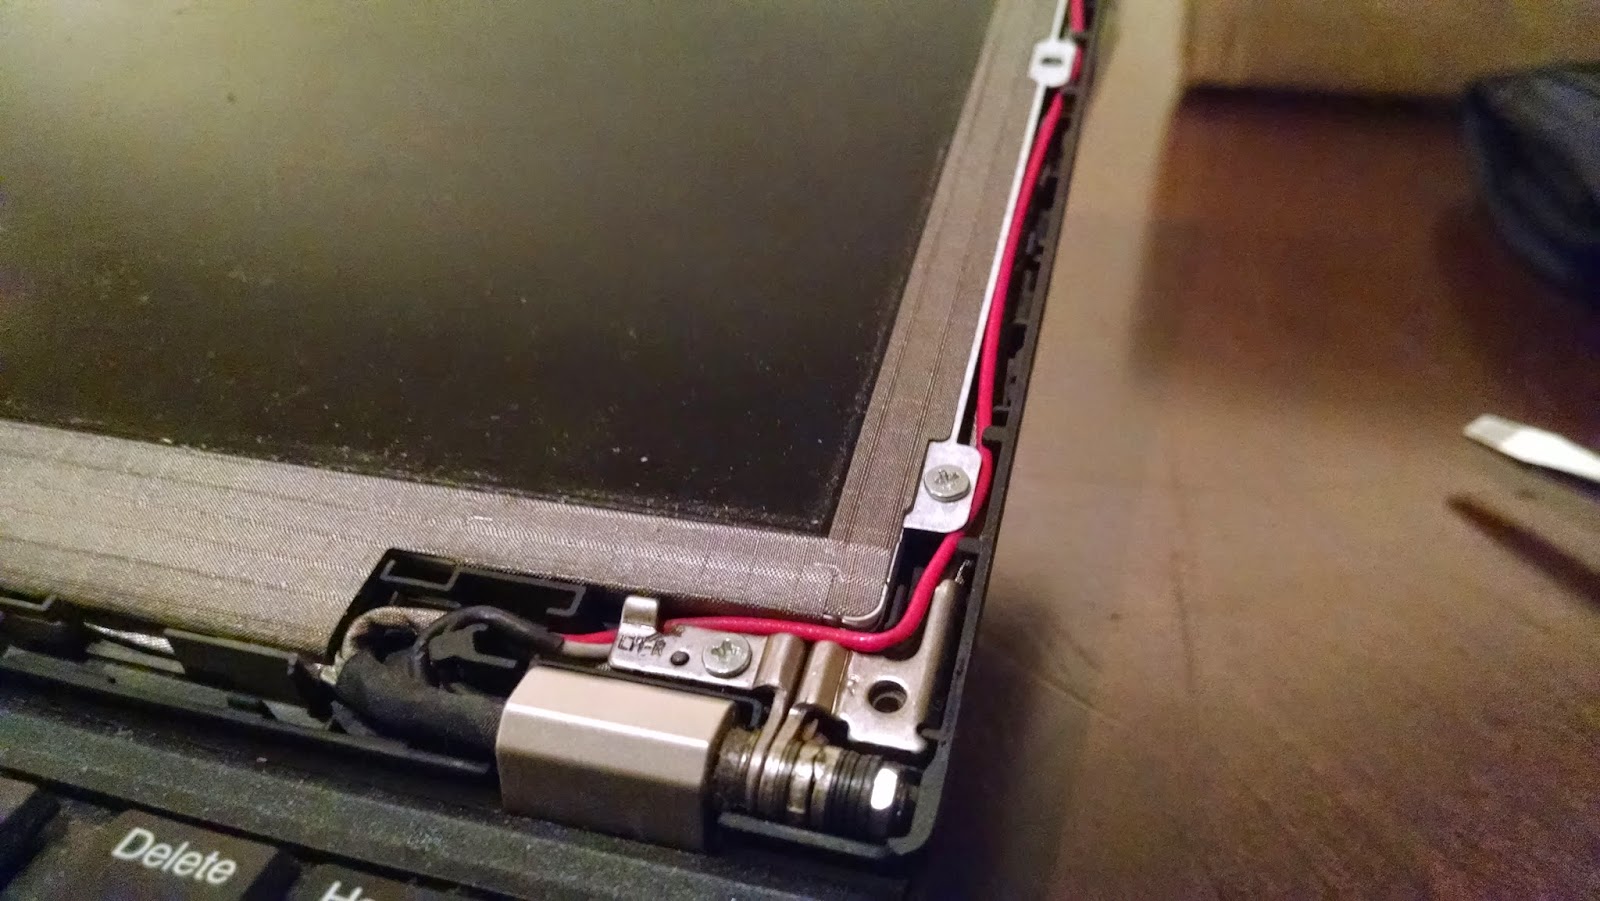
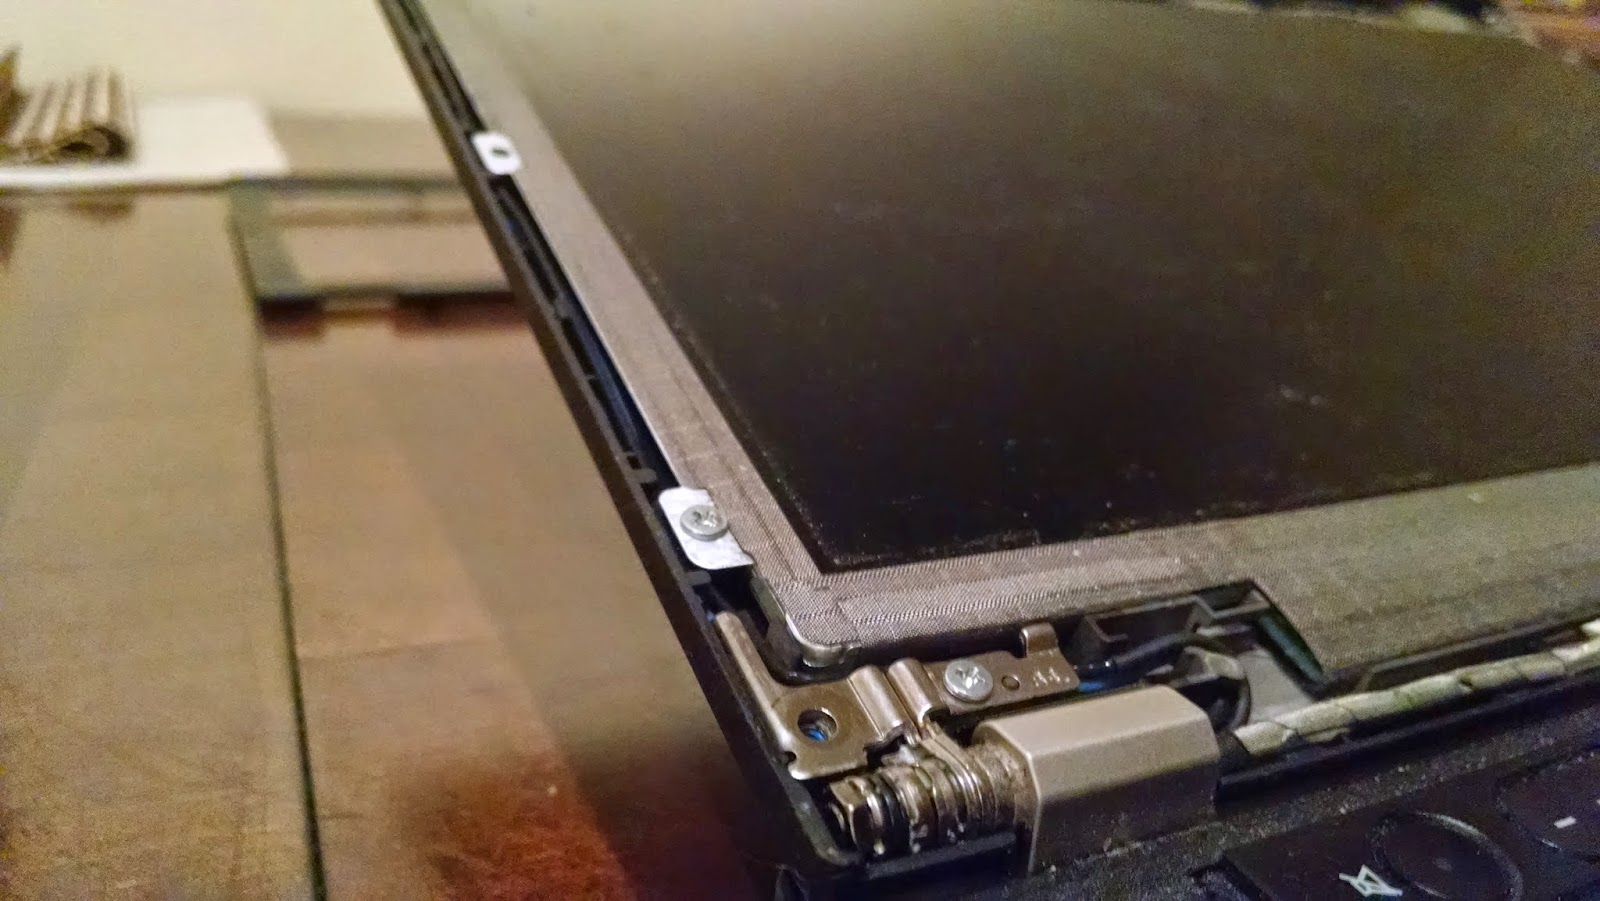
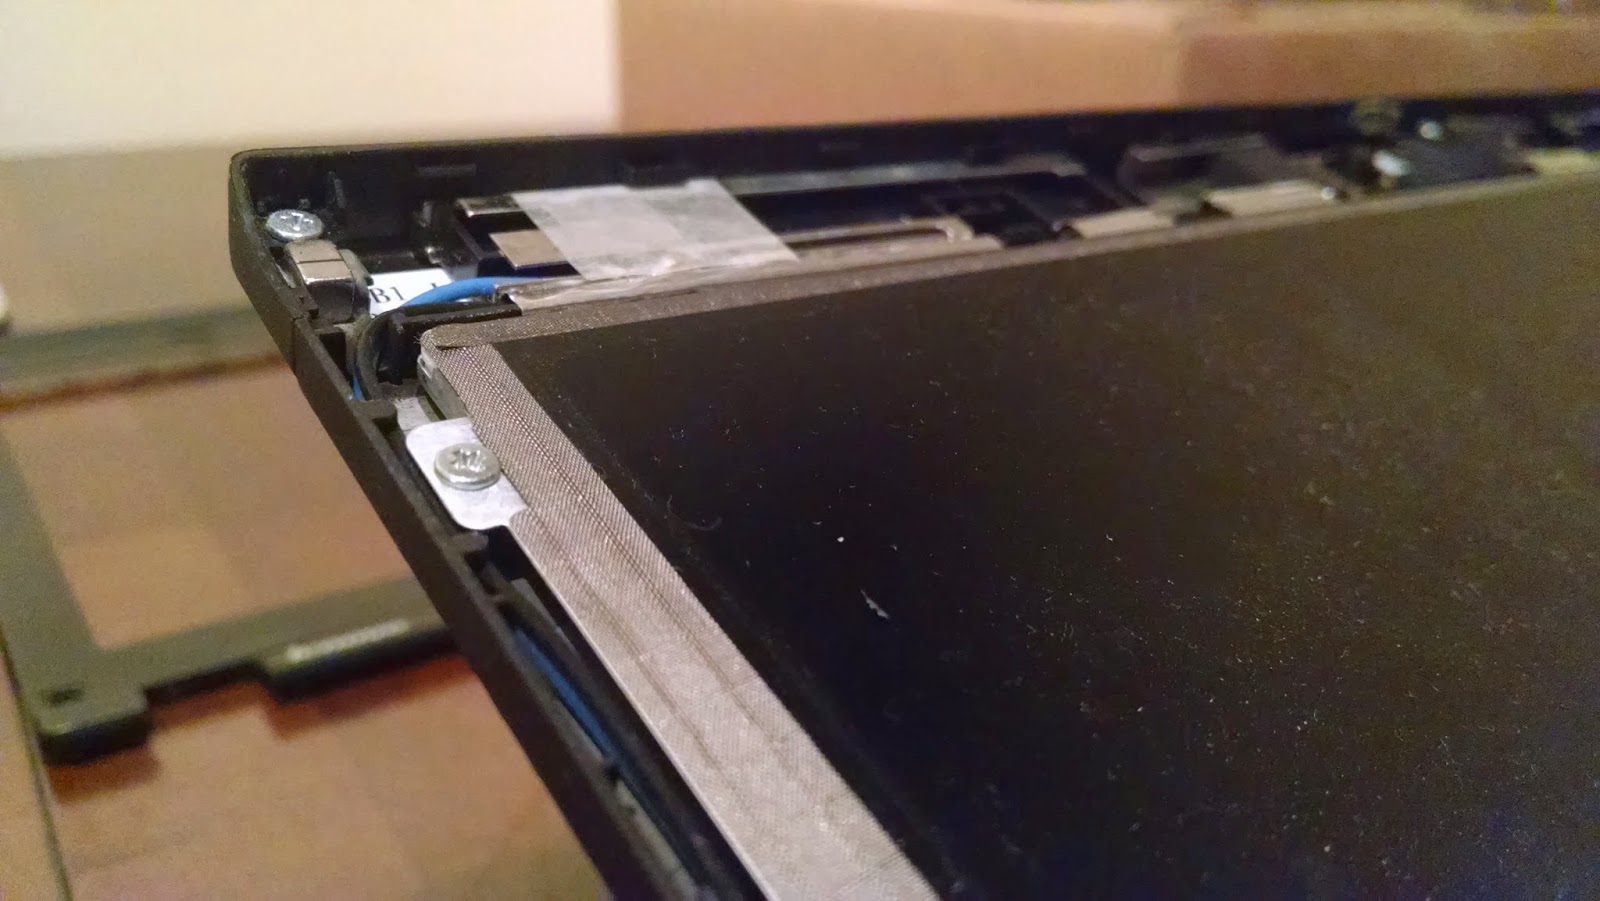
There are three more screws attaching the LCD panel to the hinges. Remove these with a Philips screwdriver.

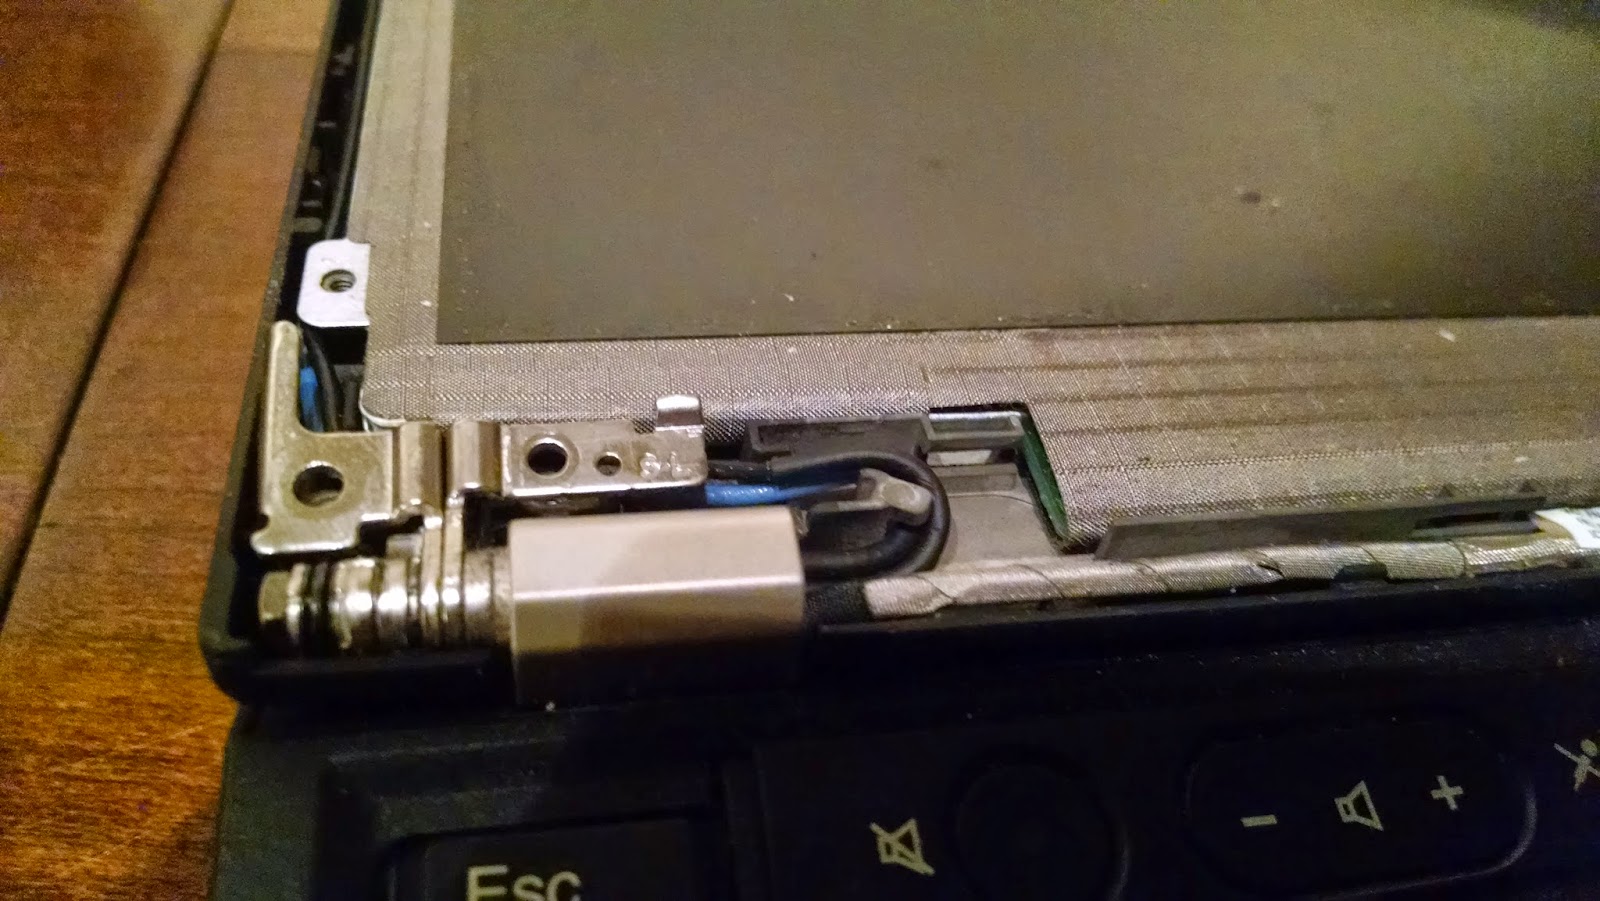
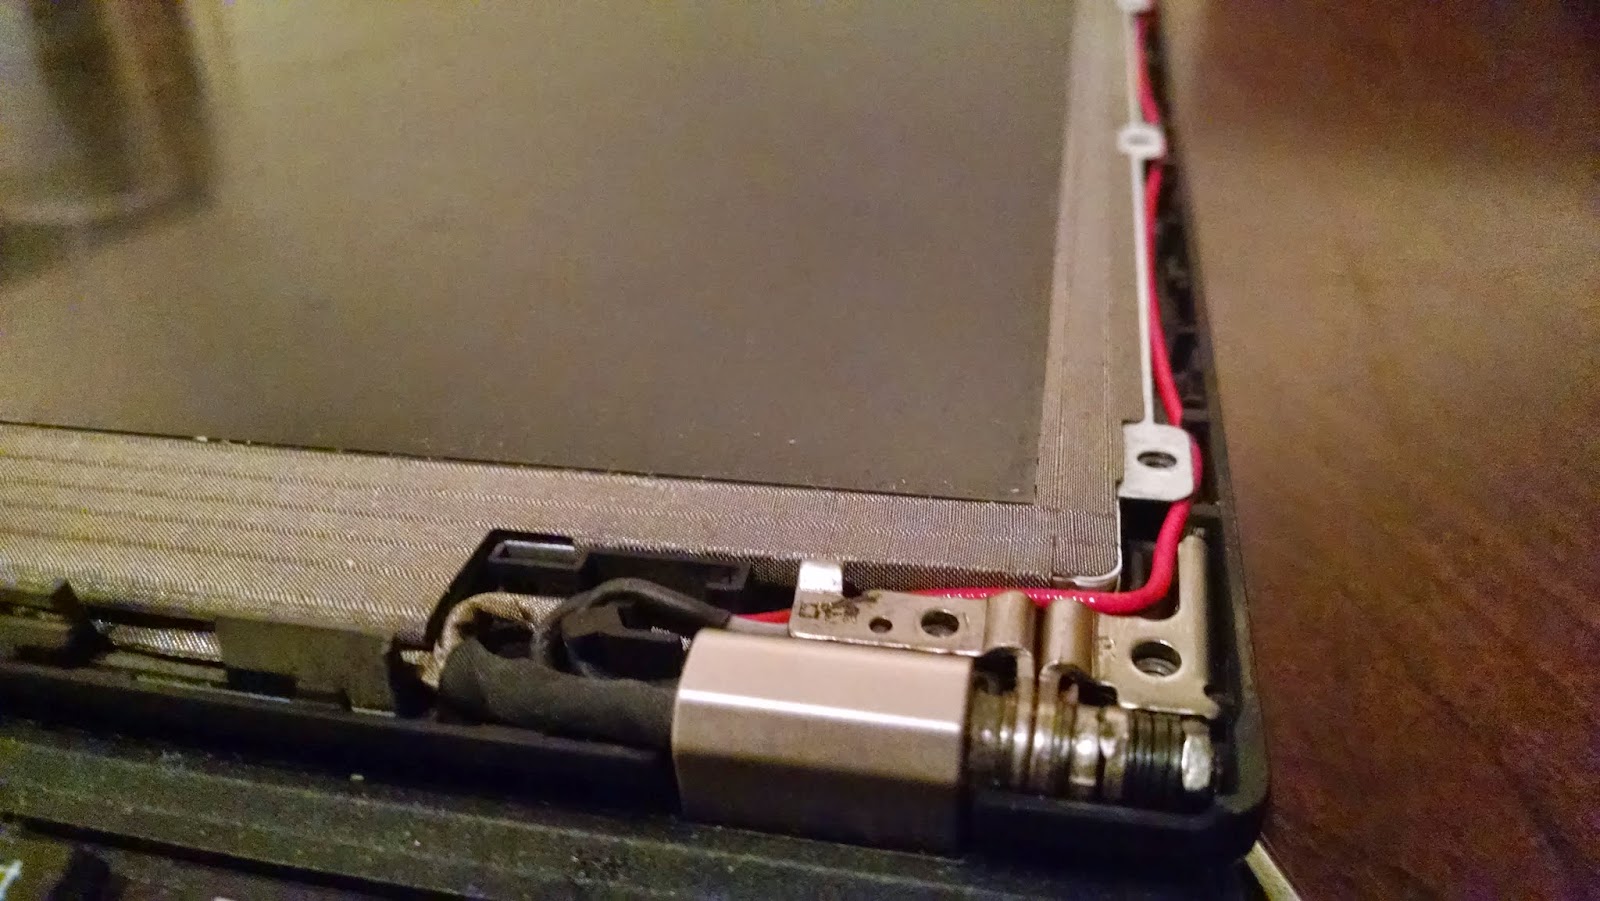

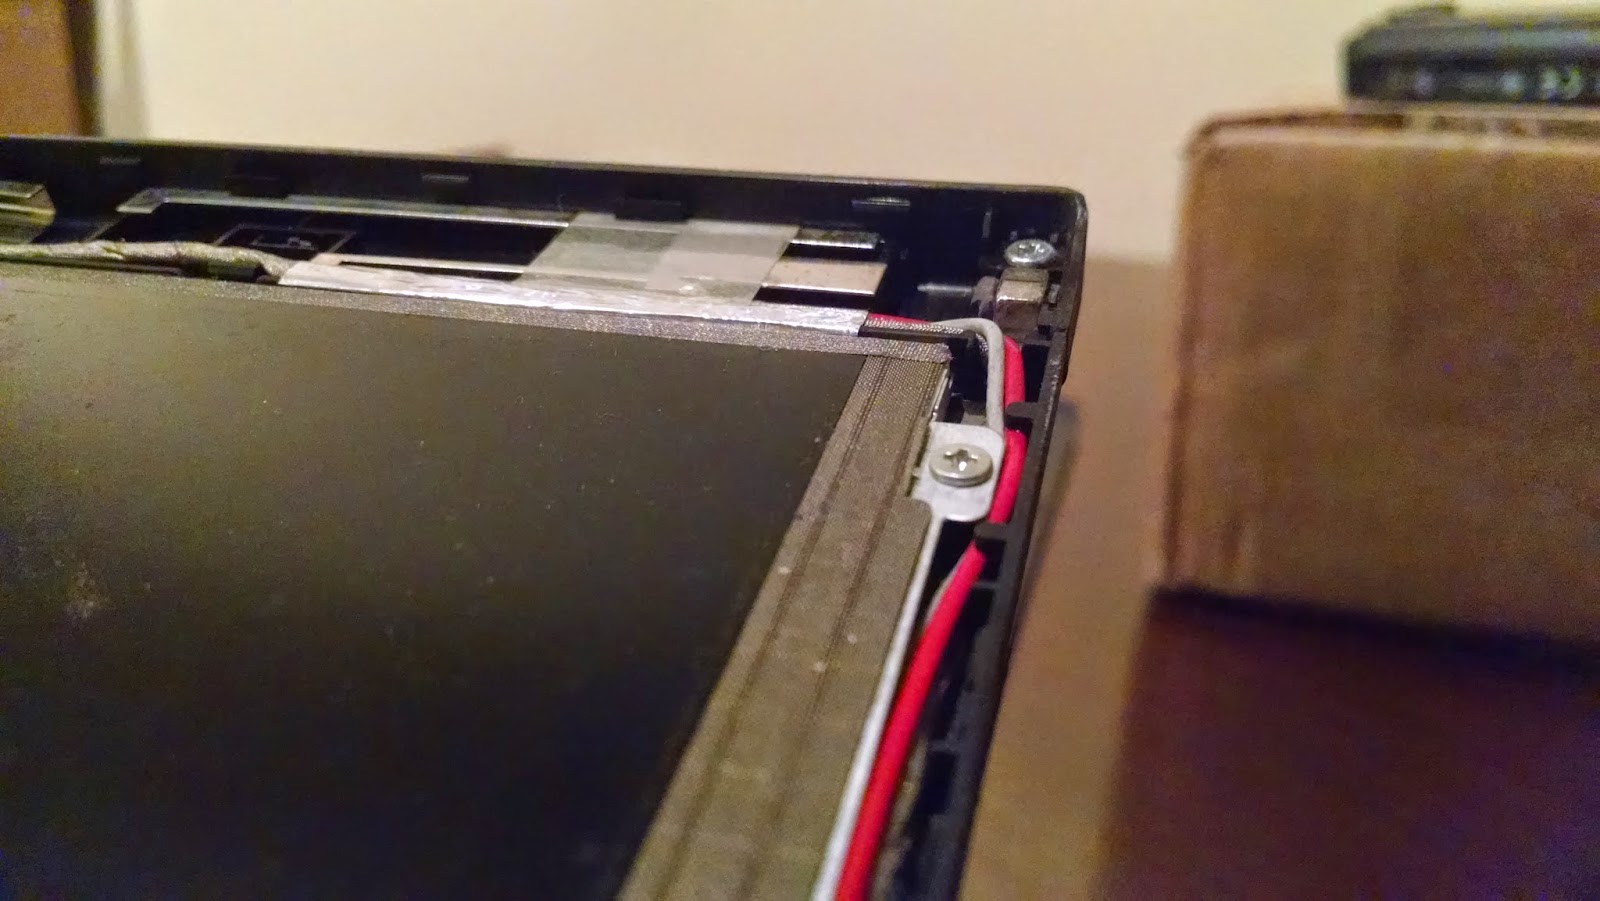
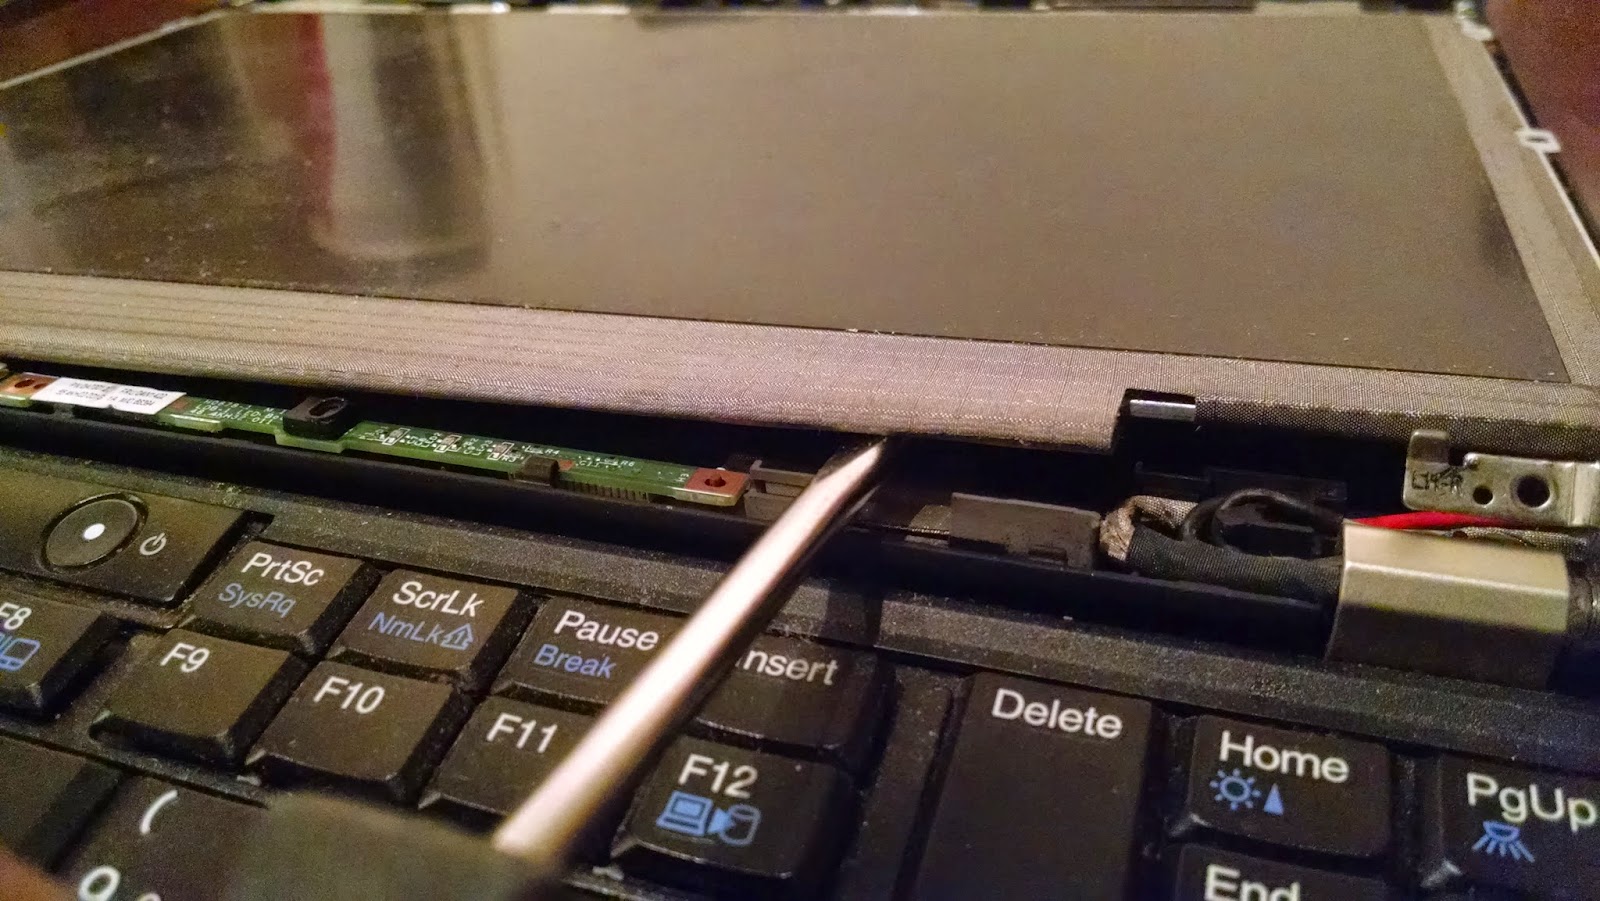
Using a flat-head, gently lift the LCD panel up and off the housing, but not all the way off! It is still attached to the motherboard by the LCD cable.
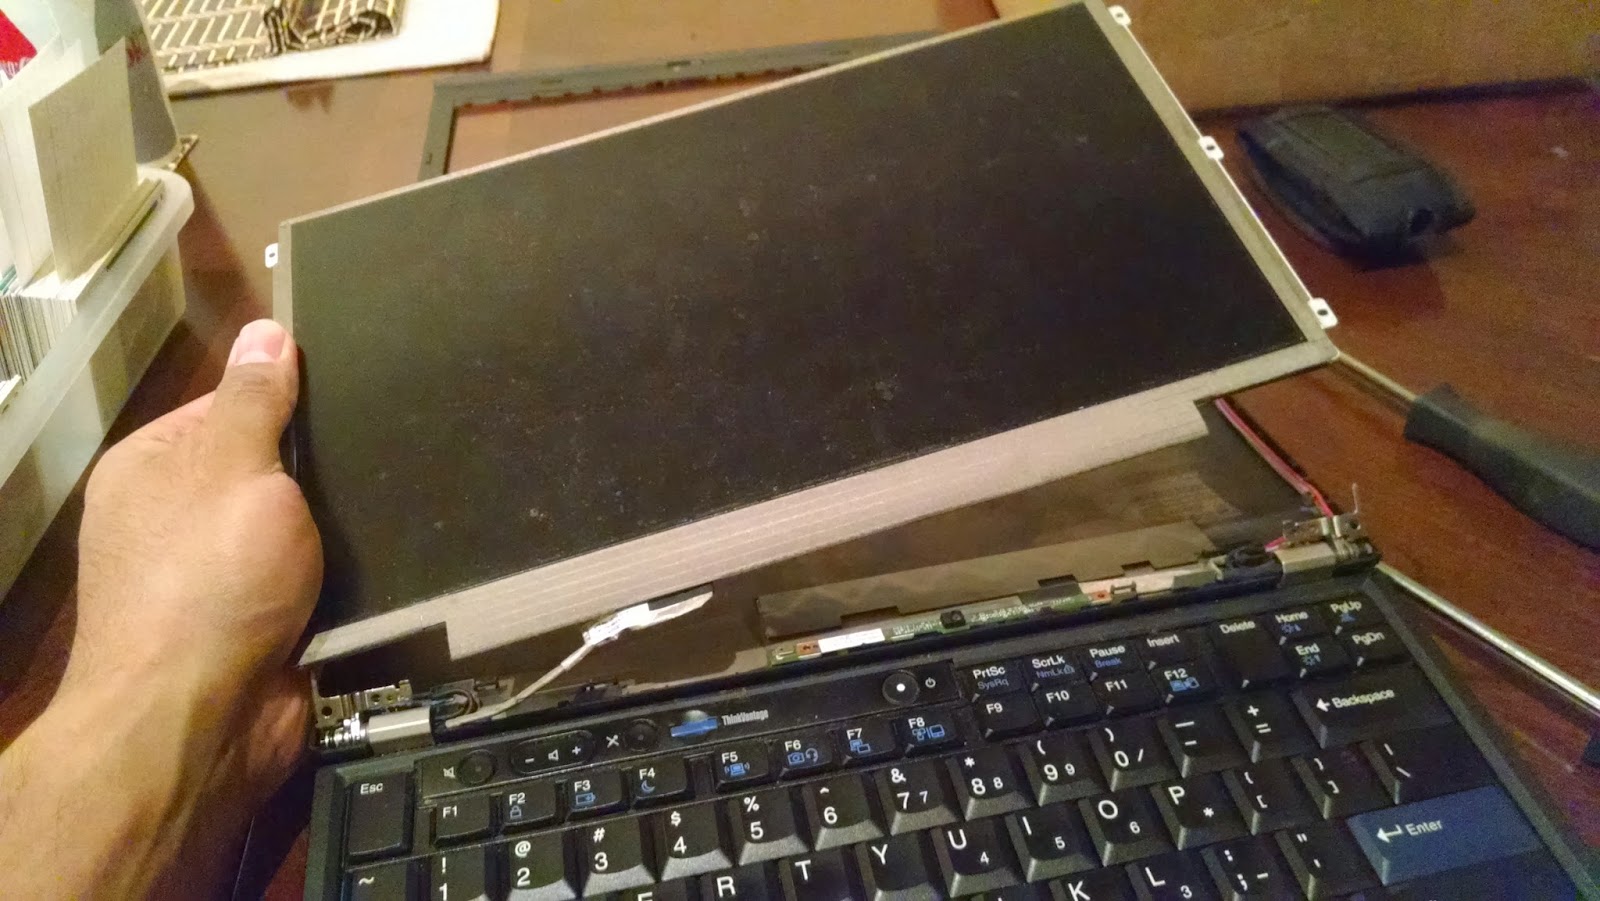
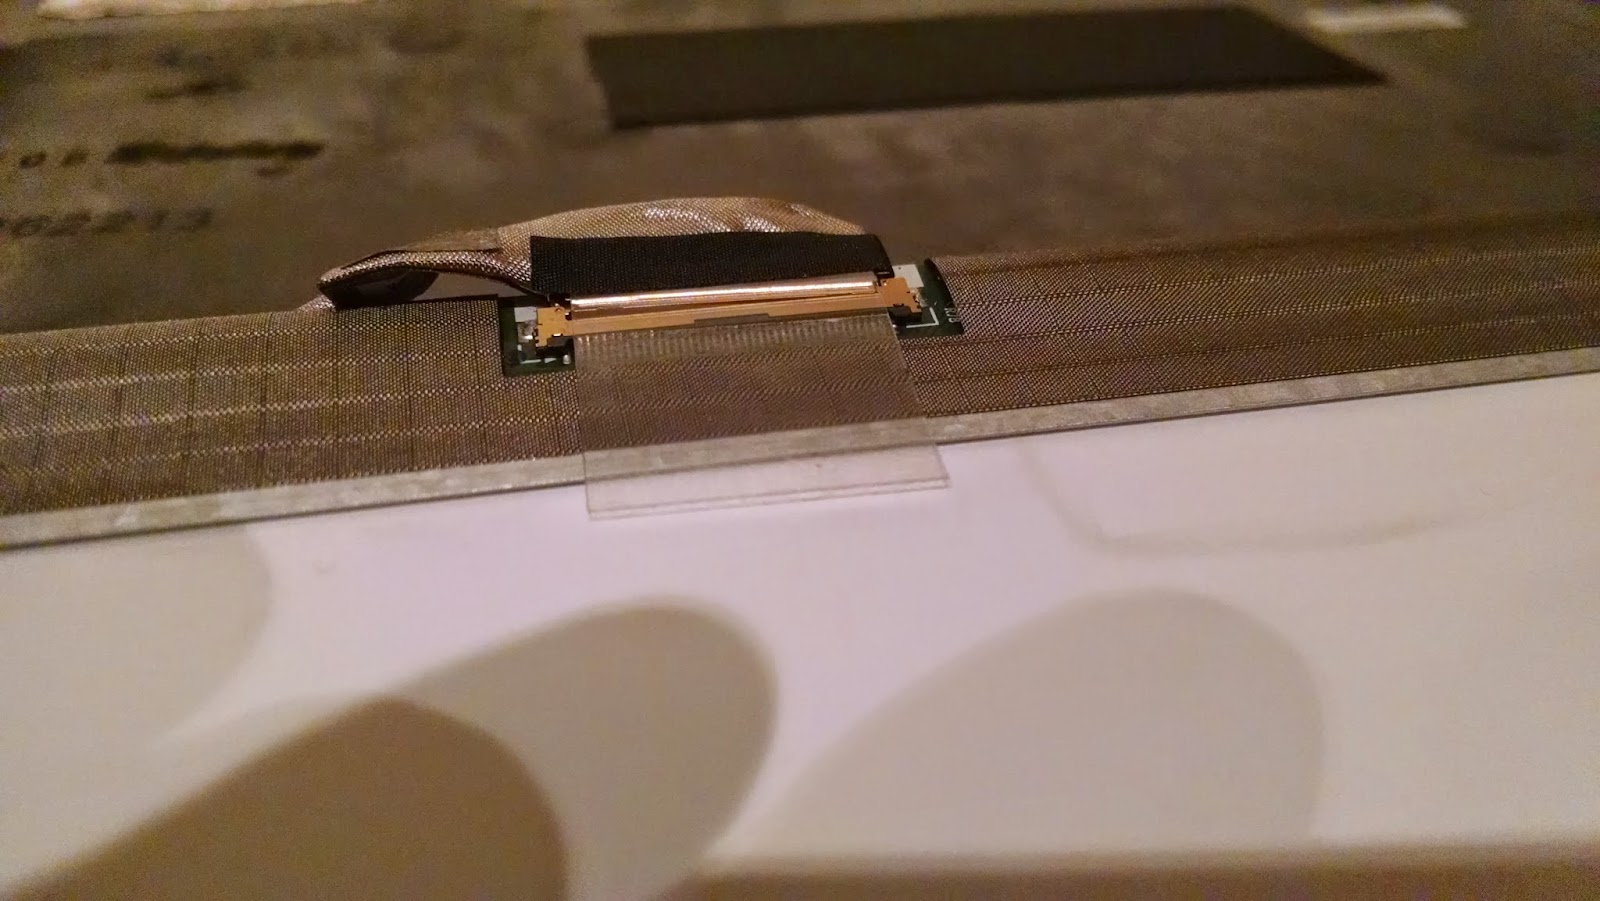
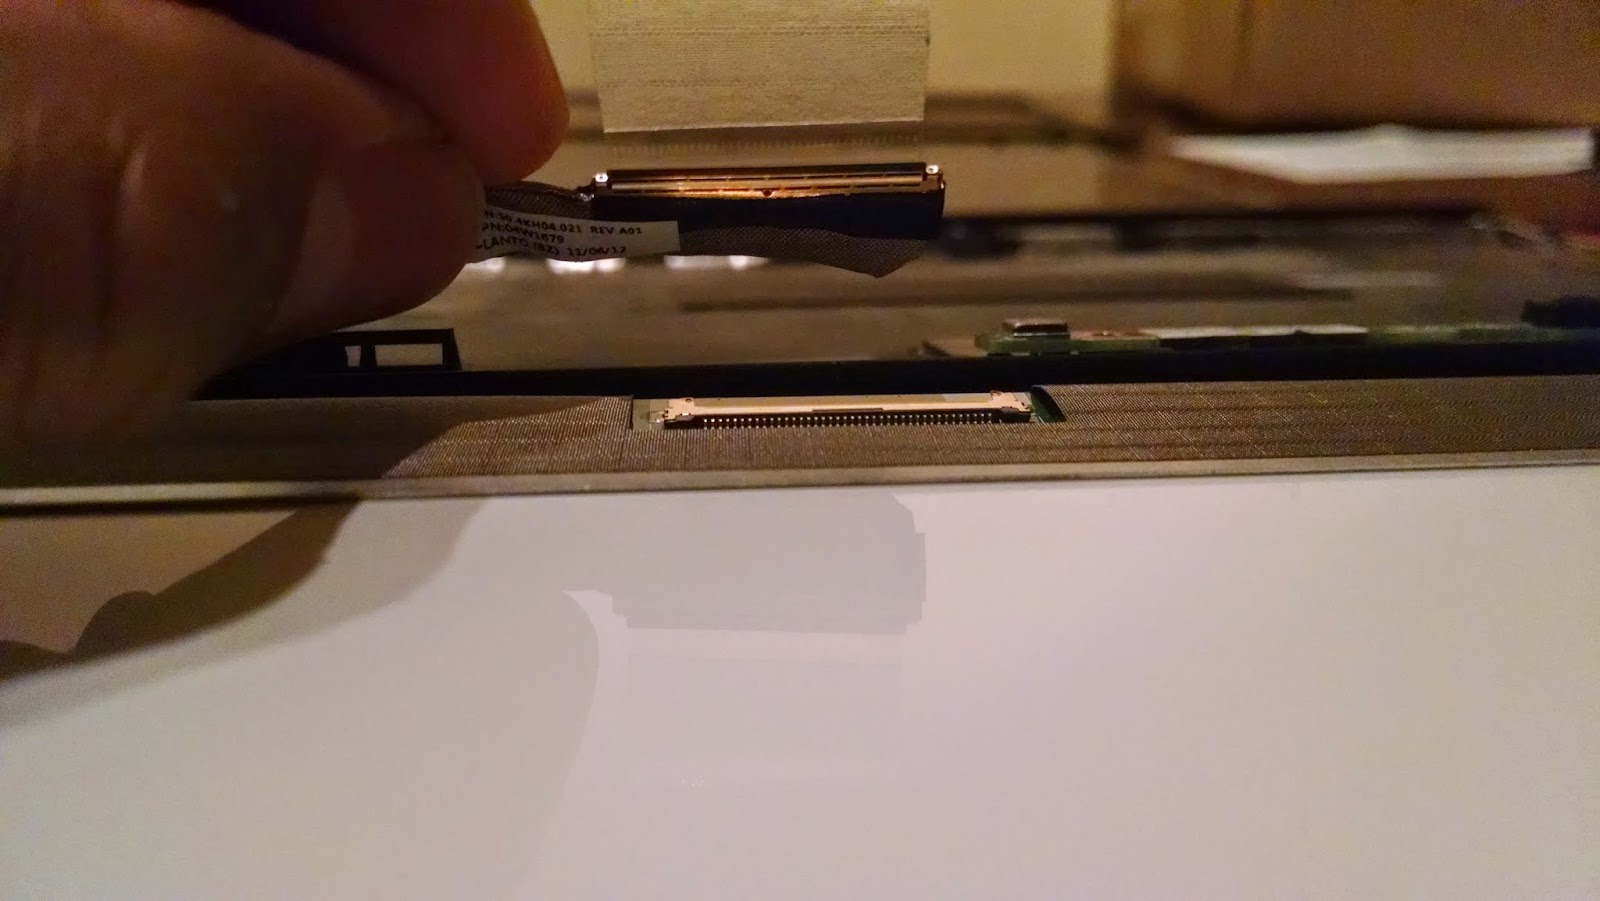
Flip the LCD panel over to the backside and locate the LCD cable near the bottom.
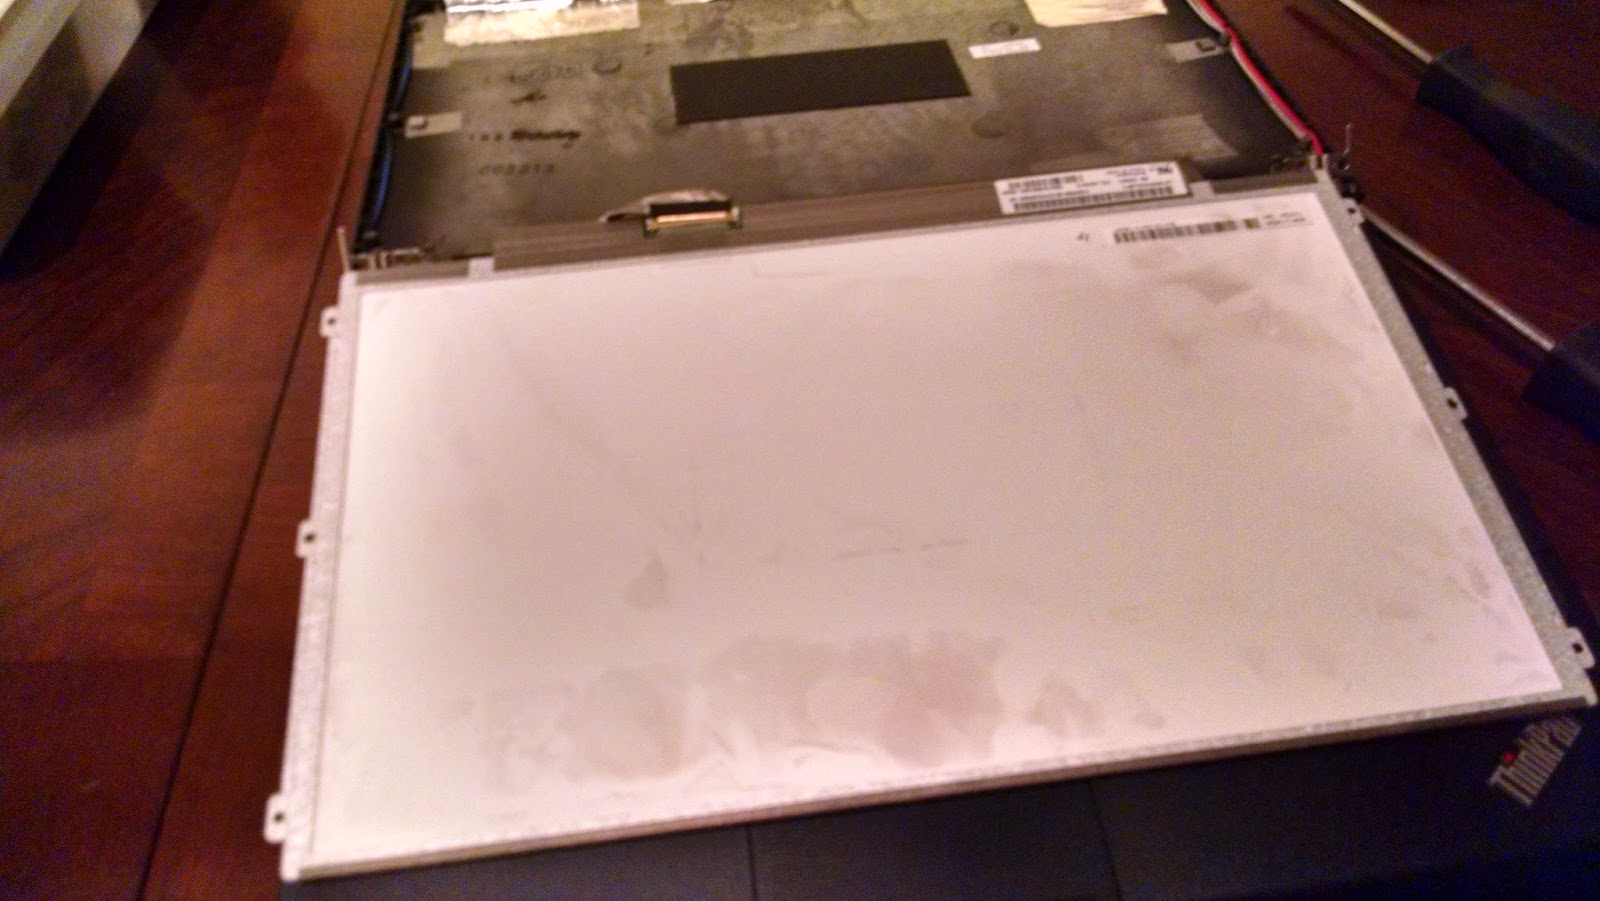
There is a piece of tape securing the LCD cable to the panel. Gently remove the tape and slide the LCD cable down and out.

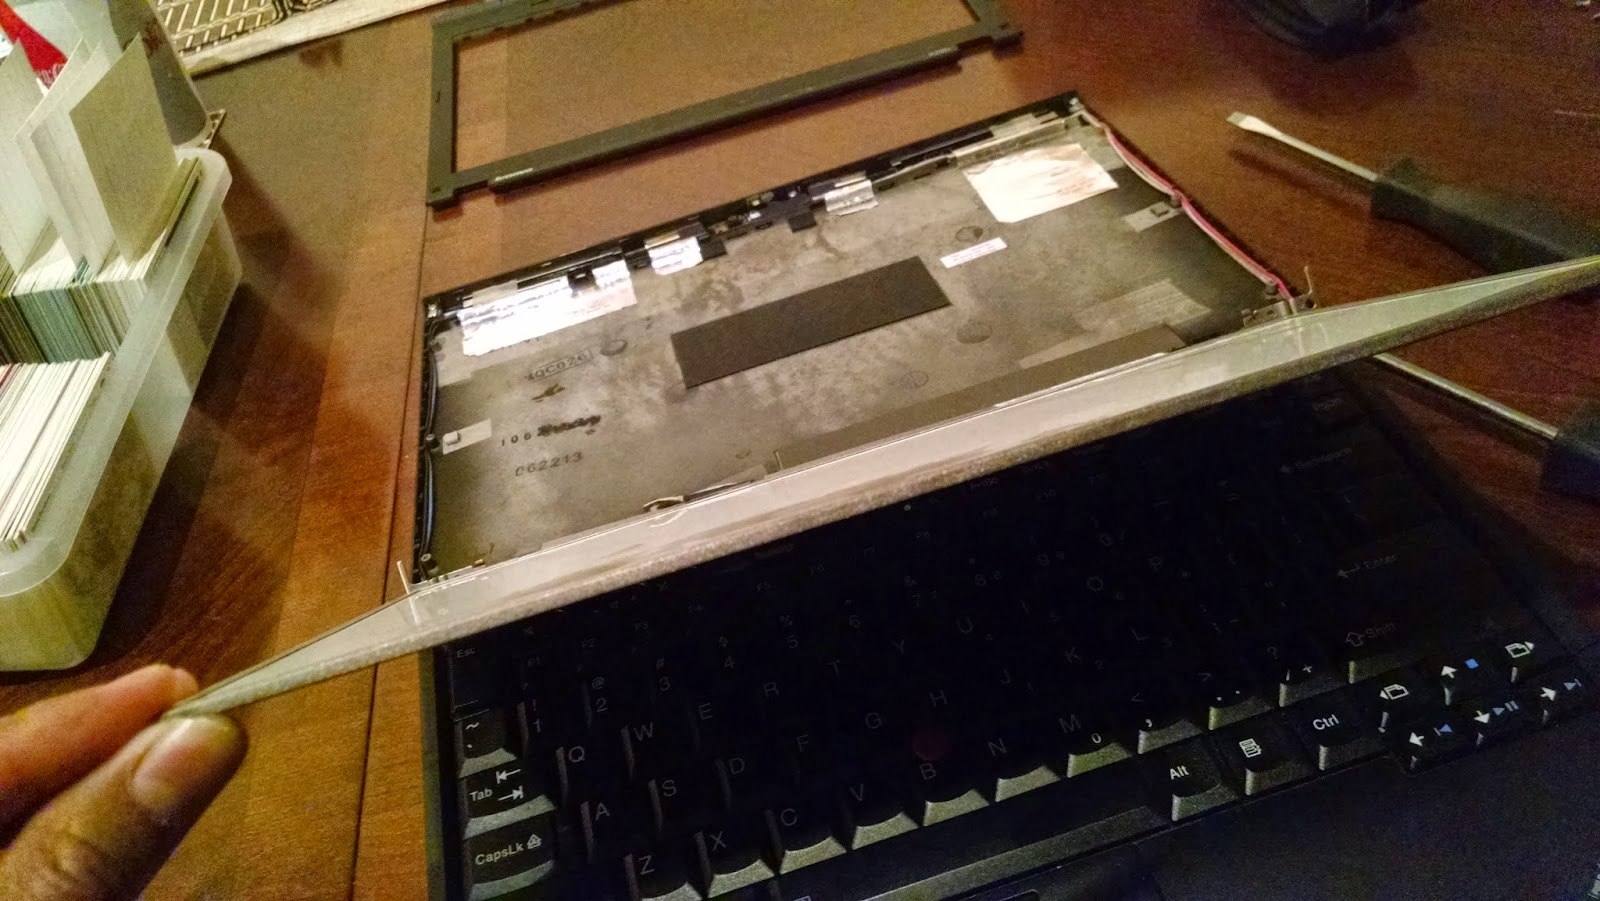
Voila! The LCD panel can now be fully removed from the LCD housing.
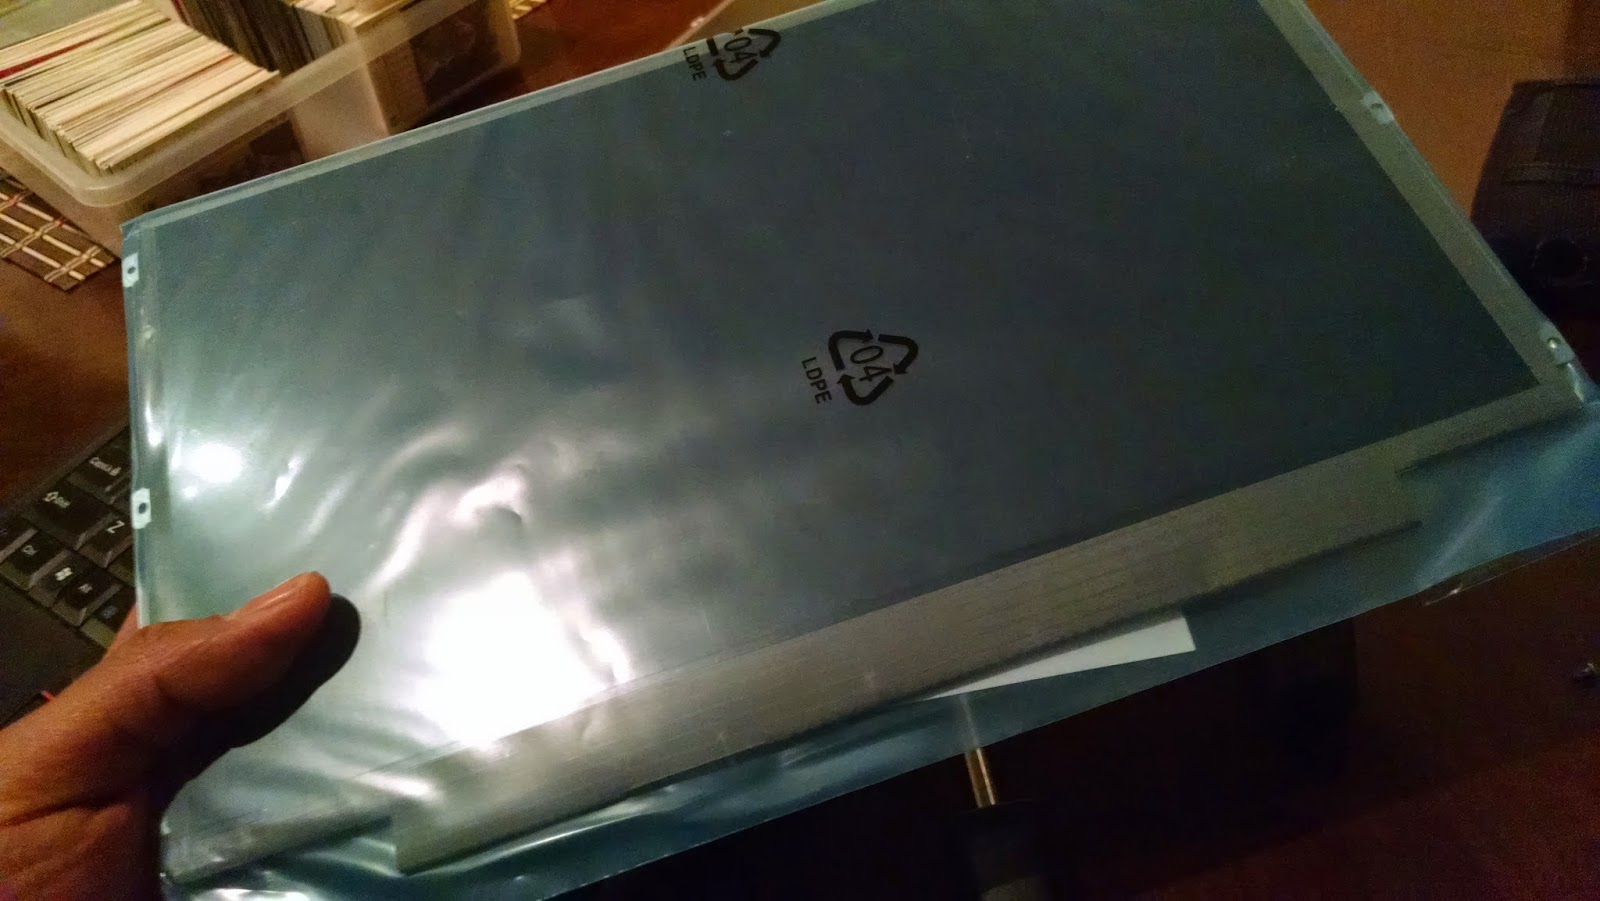
This is the new panel, packaged very securely by East Coast LCDs!

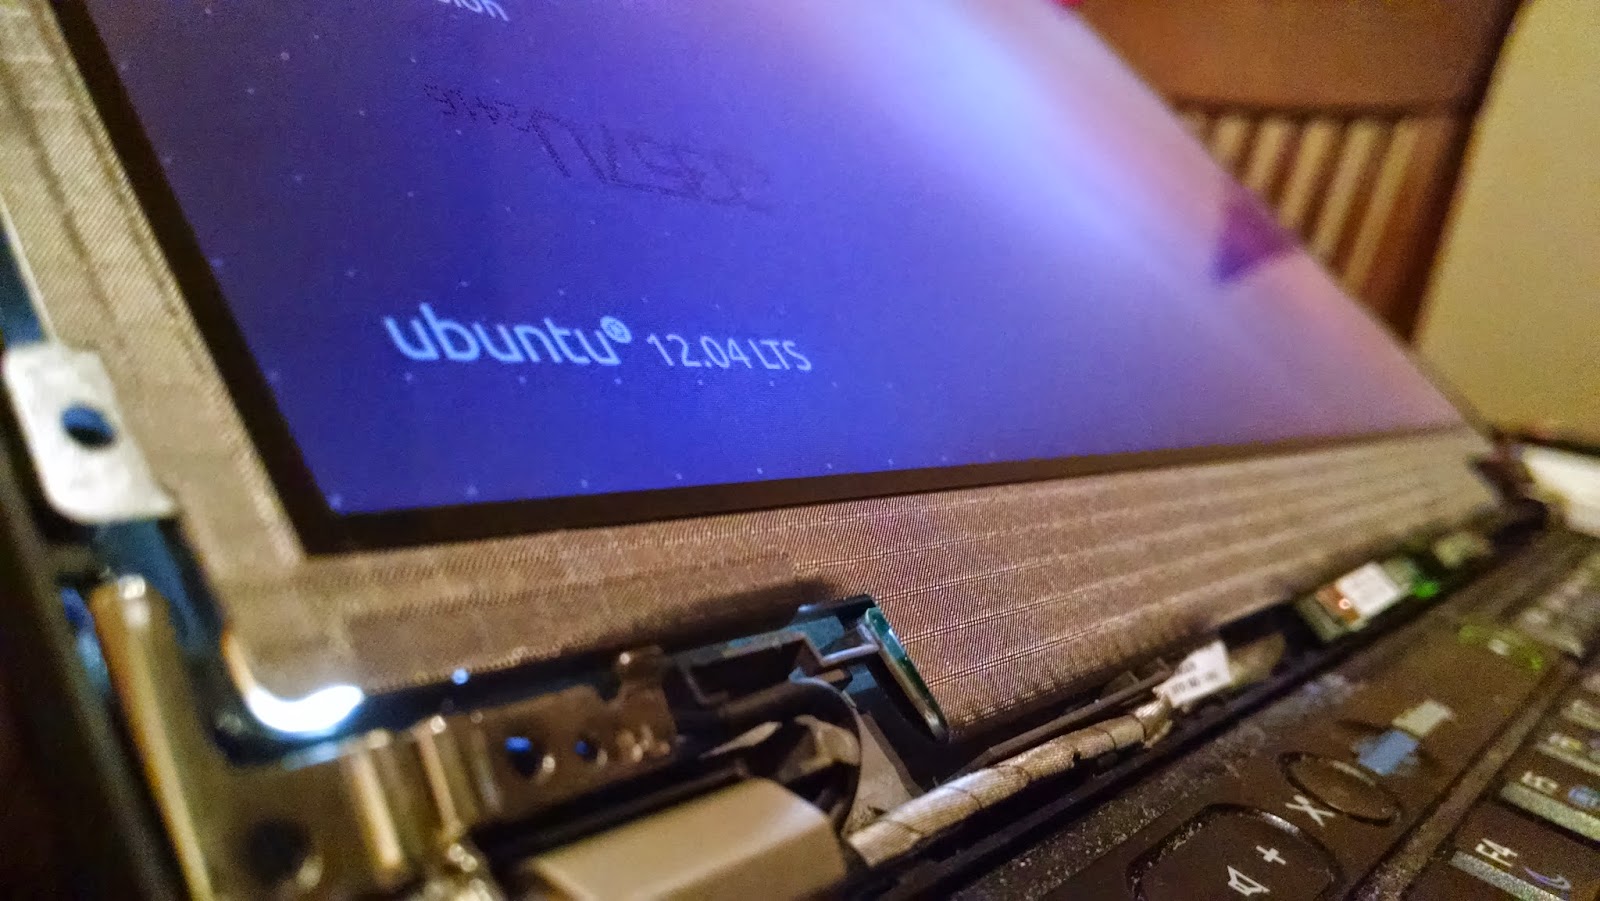
Now, just do the reverse! Reattach the LCD cable to the new LCD panel.


Before screwing everything back in, make sure things work. Looking good so far!

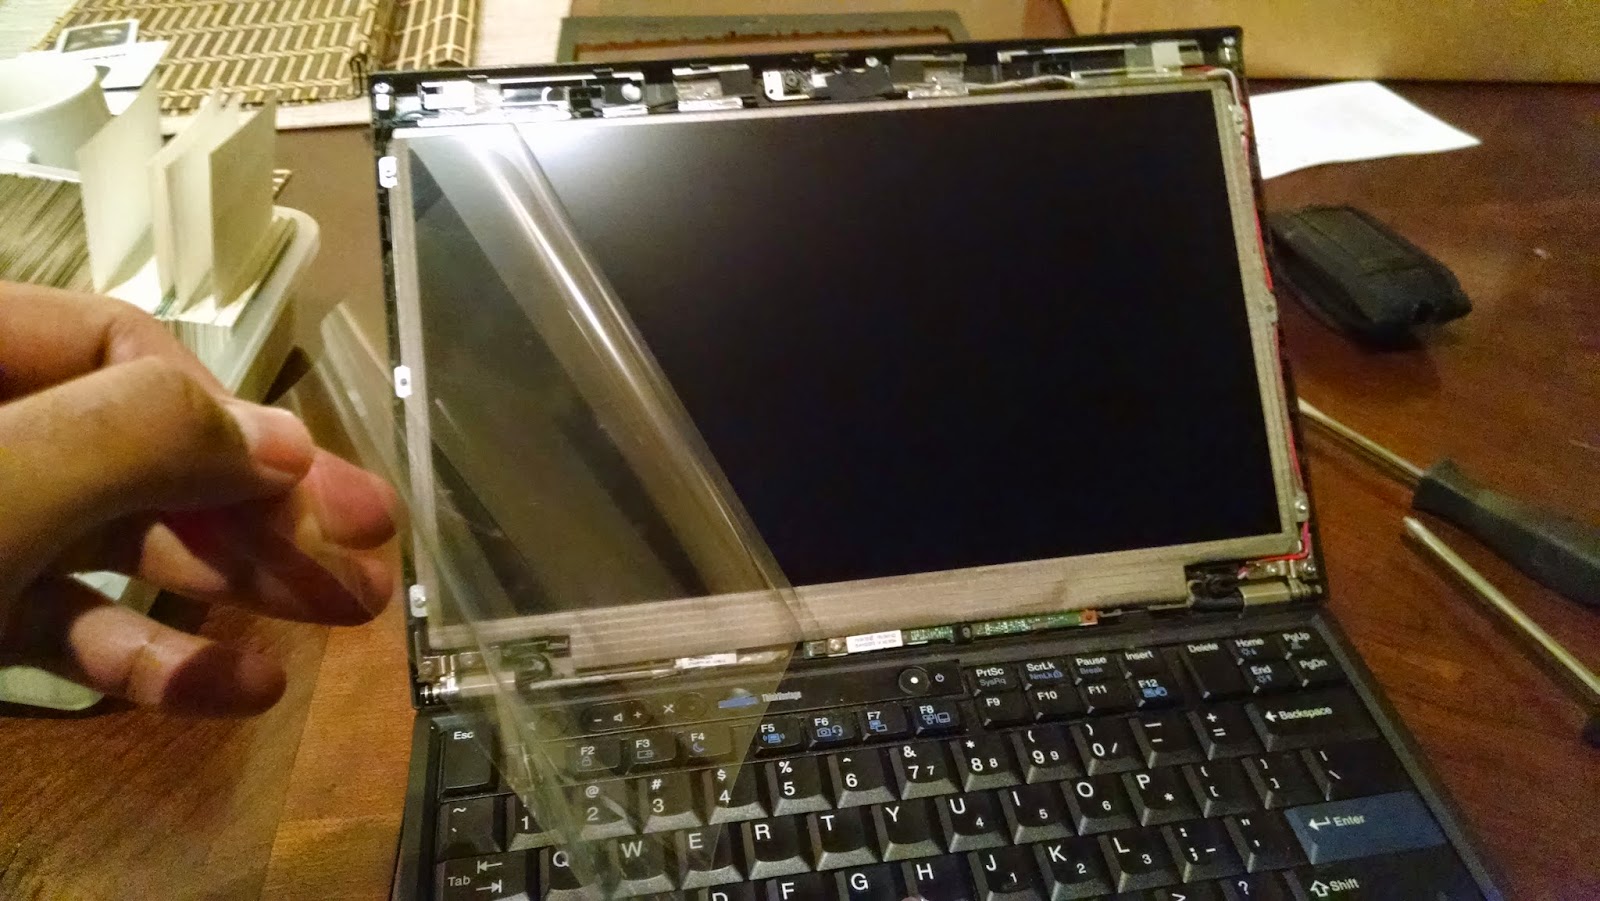
After screwing everything back in, remove the protective plastic left on the new LCD panel.
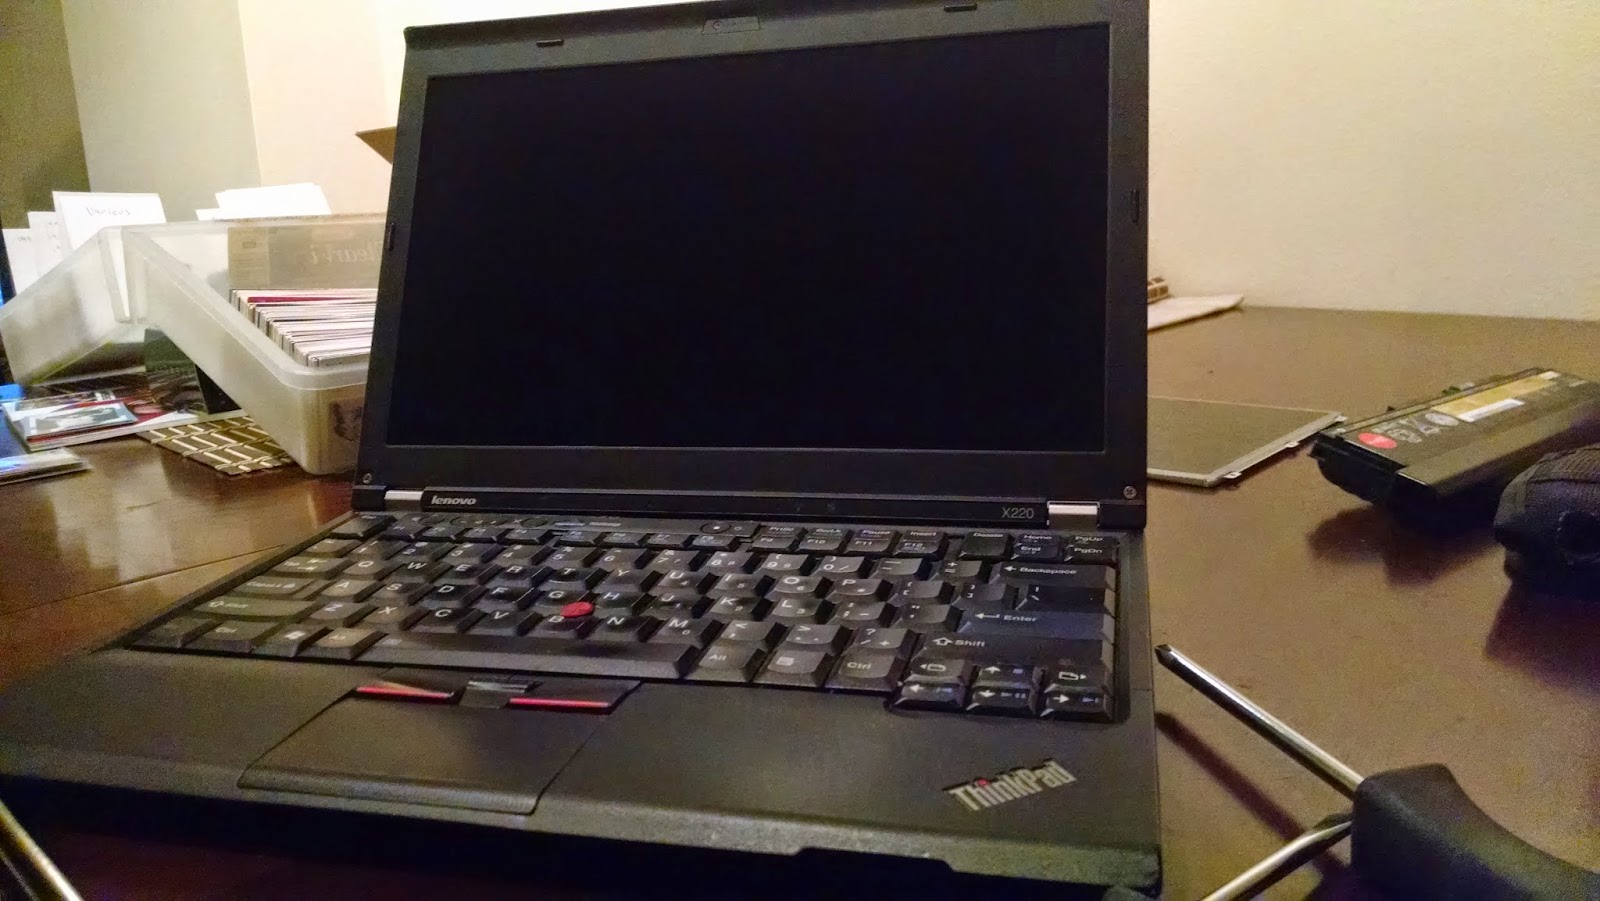
Good as new!
Conclusion
Thinkpads are really easy to modify and repair. In addition to replacing my broken screen, I ripped out the keyboard for cleaning and installed a new 128 GB solid-state drive. I have even more plans to upgrade the memory to 8 GB from 4 GB. My X220 has never been better and will, hopefully, continue to last a very long time!
Have any comments, questions, critiques? Let me know below. Happy tweaking!