Getting My New Macbook Dev-Ready
For my trip to Europe, I purchased a brand new Macbook! It’s the perfect travel companion: lightweight, decent battery life, and just powerful enough to do basic computing (email, blogging, etc).
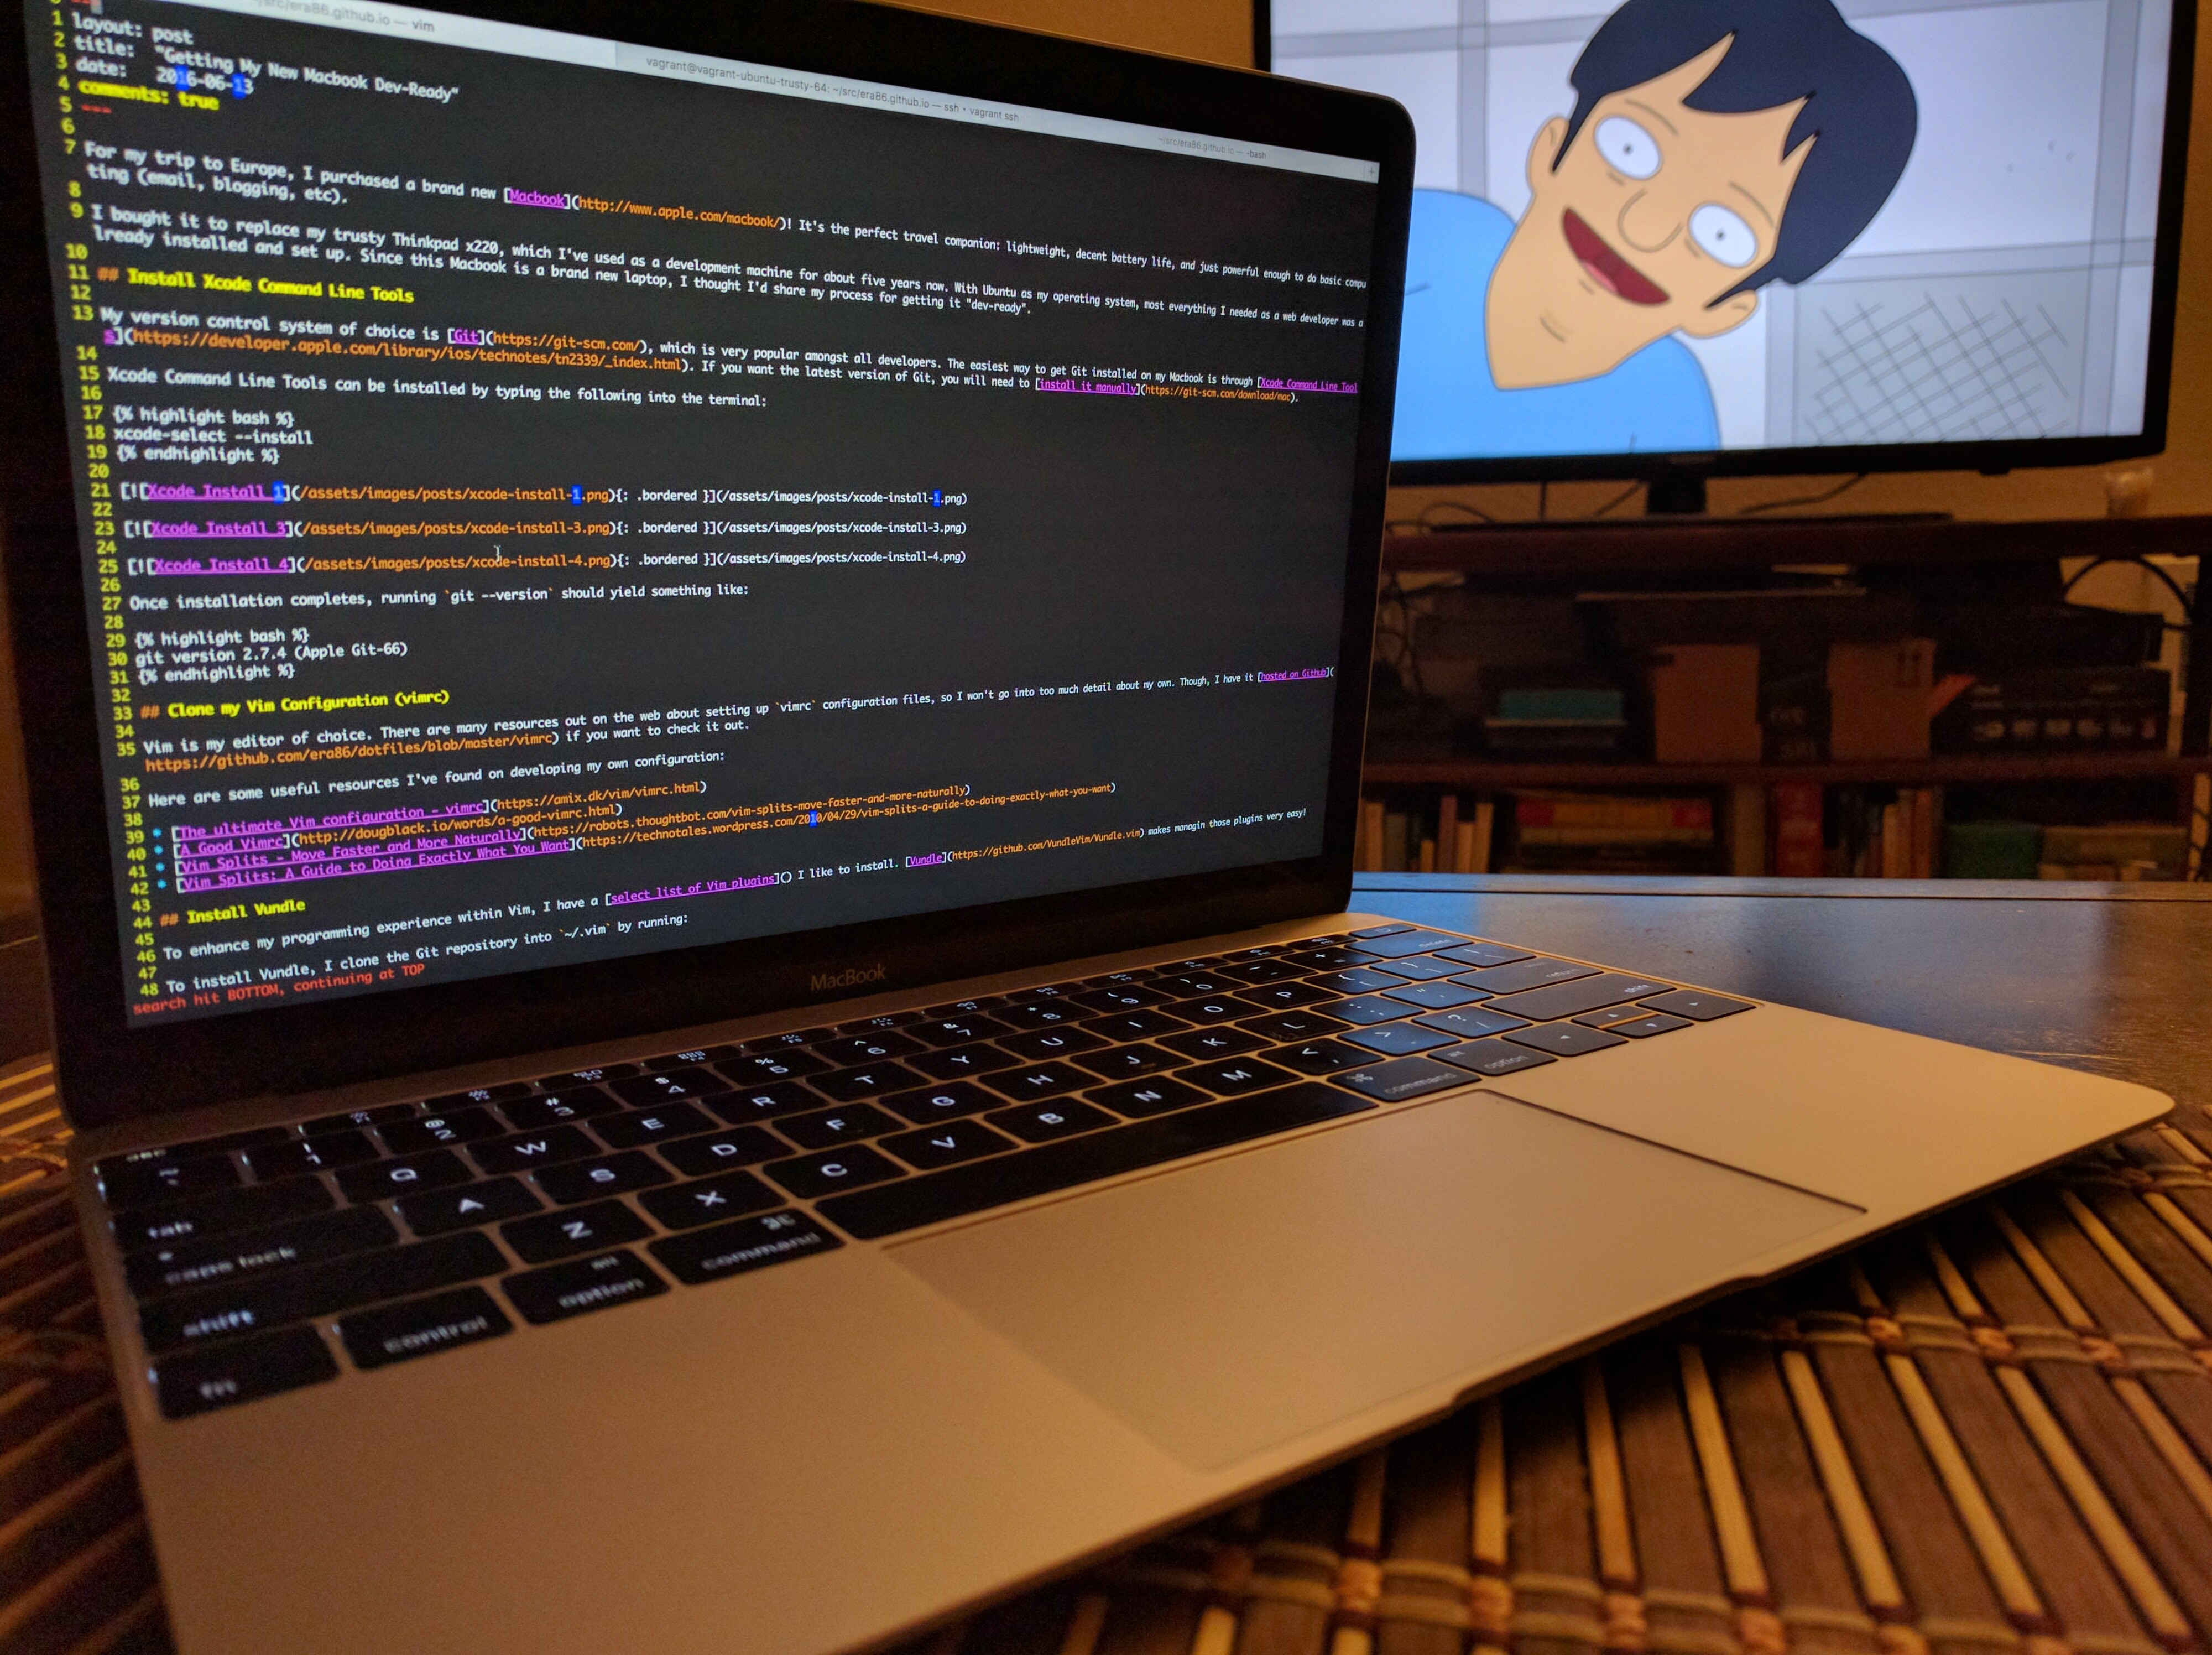
I bought it to replace my trusty Thinkpad x220, which I’ve used as a development machine for about five years now. With Ubuntu as my operating system, most everything I needed as a web developer was already installed and set up. Since this Macbook is a brand new laptop, I thought I’d share my process for getting it “dev-ready”.
Install Git via Xcode Command Line Tools
My version control system of choice is Git, which is very popular amongst all developers. The easiest way to get Git on my Macbook is through Xcode Command Line Tools. For the latest version of Git, it can easily be installed manually.
Xcode Command Line Tools can be installed by typing the following into the terminal:
xcode-select --install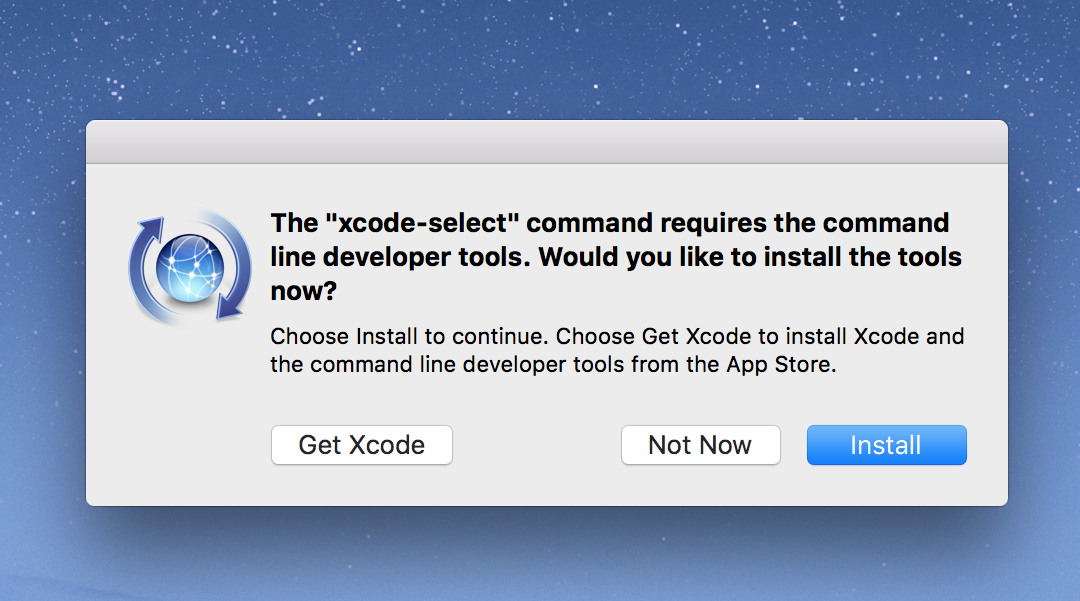

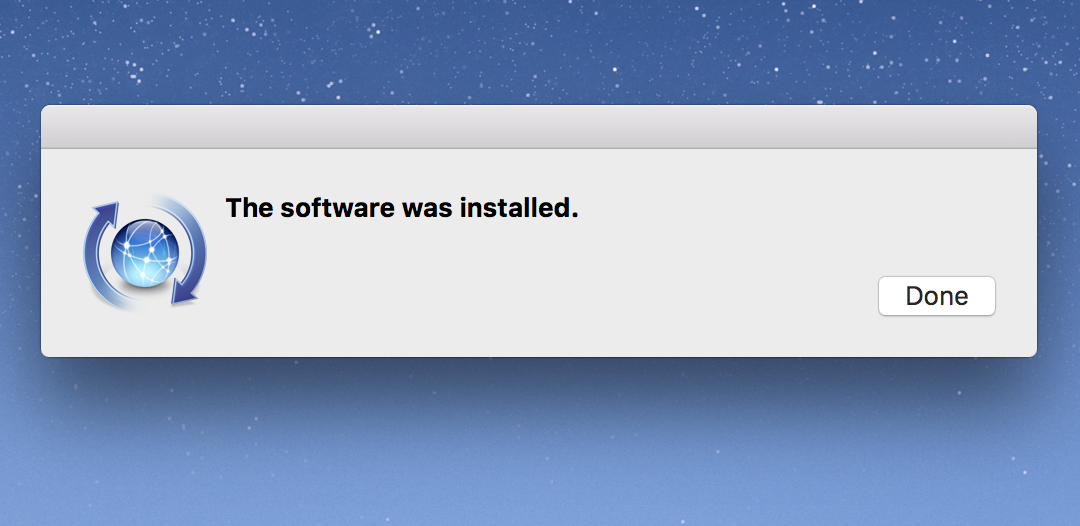
Once installation completes, running git --version should yield something like:
git version 2.7.4 (Apple Git-66)Clone my Vim Configuration (vimrc)
Vim is my text editor of choice. There are many resources out on the web about creating vimrc configuration files, so I won’t go into too much detail about my own. Though, I have it hosted on Github for anyone who wants to check it out.
Here are some articles I found useful when setting up my own vimrc:
- The ultimate Vim configuration - vimrc
- A Good Vimrc
- Vim Splits - Move Faster and More Naturally
- Vim Splits: A Guide to Doing Exactly What You Want
Install Vundle
To enhance my programming experience within Vim, I install a select list of Vim plugins. Vundle makes managing those plugins very easy!
To install Vundle, clone the Git repository into ~/.vim by running:
git clone https://github.com/VundleVim/Vundle.vim.git ~/.vim/bundle/Vundle.vimThen, the following snippet is added to the top of vimrc:
set nocompatible
filetype off
set rtp+=~/.vim/bundle/Vundle.vim

call vundle#begin()

" List of Vim plugins go here
" Visit http://vimawesome.com/ for a list of plugins!
Plugin 'path/to/plugin/repository'

call vundle#end()

filetype plugin indent on
Now, fire up vim and run :PluginInstall.
Once the command is finished, all of the Vim plugins listed in vimrc should be installed and ready to use!
Install Homebrew
Installing tools and applications in Ubuntu is really easy with apt, its package management system. The equivalent for OS X is Homebrew, also known as “the missing package manager for OS X.”
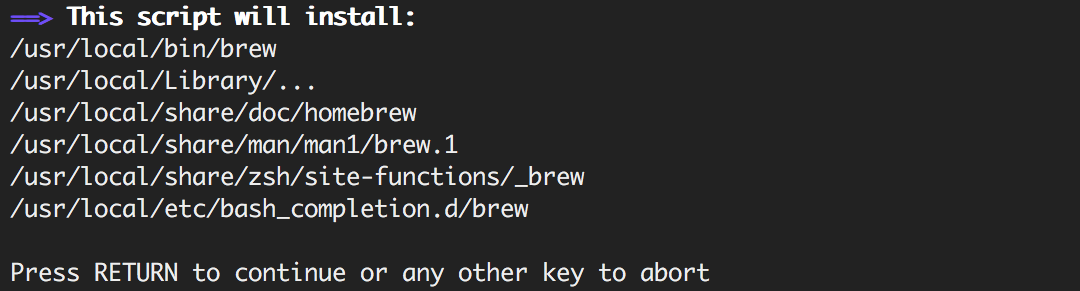
Homebrew can easily be installed by typing the following into the terminal:
/usr/bin/ruby -e "$(curl -fsSL https://raw.githubusercontent.com/Homebrew/install/master/install)"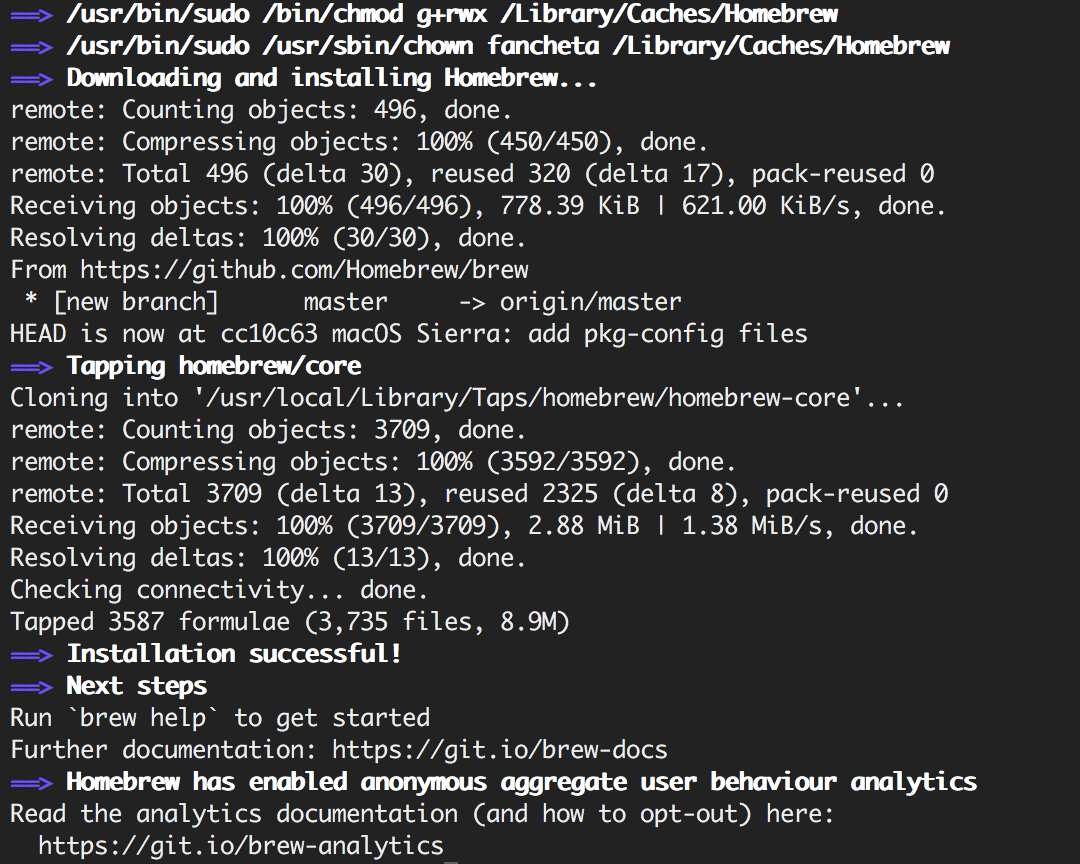
Hitting Enter will let start the installation, which fetches and builds Homebrew.
Once installation is complete, running brew -v should yield something like:
Homebrew 0.9.9 (git revision cc10; last commit 2016-06-14)
Homebrew/homebrew-core (git revision d8f2; last commit 2016-06-14)
Install Ack
Ack is very similar to Grep, which allows users to text-search across multiple files. I use it within Vim via the AckVim plugin. With Homebrew, it’s very easy to install:
brew install ack
Once installation is complete, running ack --version should yield something like:
ack 2.14
Running under Perl 5.18.2 at /usr/bin/perl

Copyright 2005-2014 Andy Lester.

This program is free software.  You may modify or distribute it
under the terms of the Artistic License v2.0.
Install Tmux
Tmux is a tool that allows users to manage multiple terminal panes and sessions from within a single window. It makes life within the terminal much easier! Again, with Homebrew, it’s very easy to install:
brew install tmux
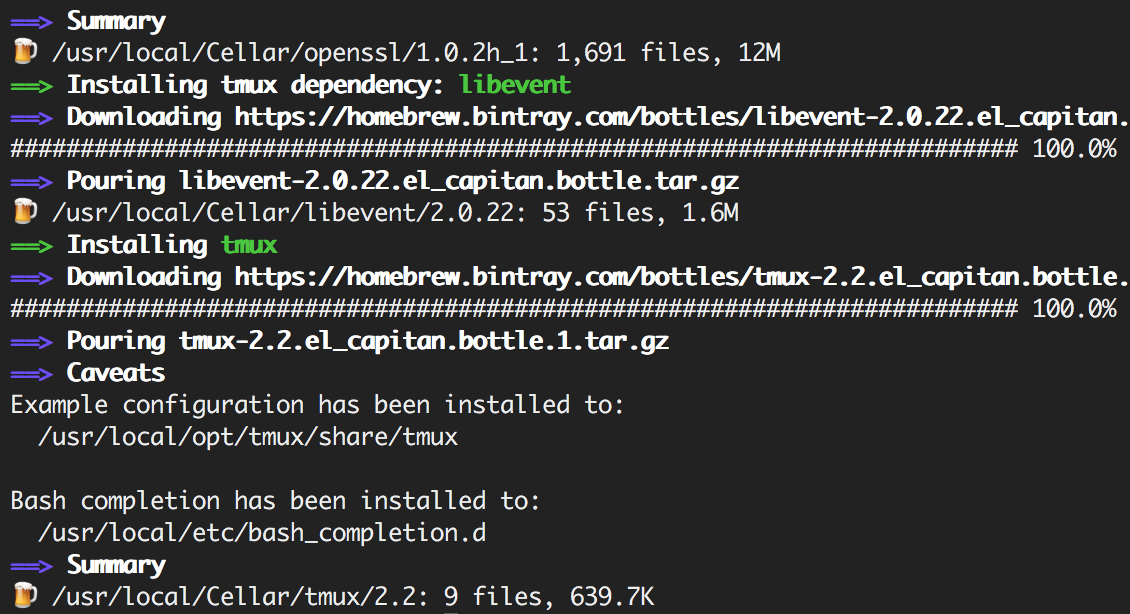
Once installation is complete, running tmux -V should yield something like:
tmux 2.2Clone my Tmux Configuration (tmux.conf)
Like my vimrc, my tmux.conf is hosted on Github.
Here are some articles I found useful when setting up my own tmux.conf: