Building a Simple Raspberry Pi Dashcam

About a year ago, I bought a Raspberry Pi Zero W to do some tinkering. It took awhile, but I finally found some time to play around with it! There are many fun Raspberry Pi projects out there, but I chose to do something I really needed: a Raspberry Pi dashcam.
The Hardware
There are three main components of my dashcam: the Pi, the camera, and the SD card.
Raspberry Pi Zero W
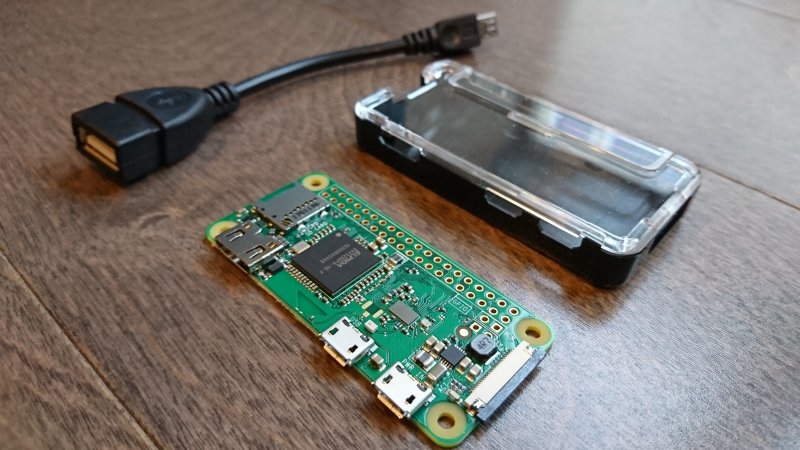
All of the Raspberry Pi models are small, lightweight, and easy to mount anywhere. I chose the Pi Zero W because of its minimal, thin design. However, if I had to do it all again, I’d use a Pi 3. The Pi Zero W only has mini-USB ports. So, I had to buy adapters for any of my USB peripherals.
AUSDOM USB Webcam
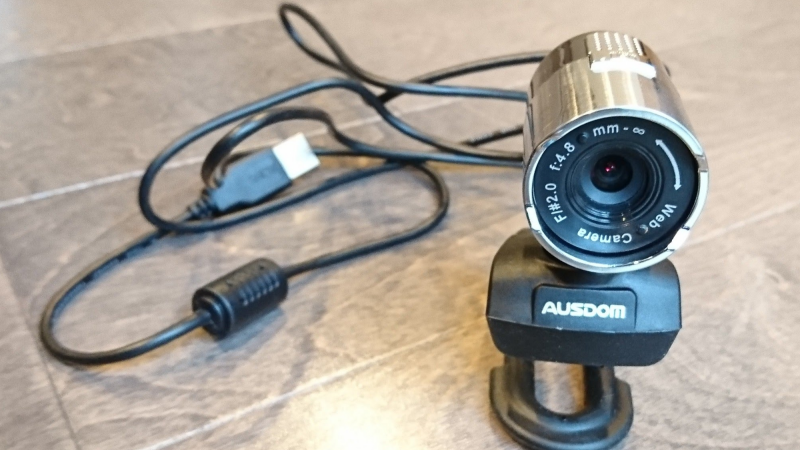
I quickly scoured Amazon for the cheapest, four-star rated USB webcam and settled on the AUSDOM 1080P Webcam. It’s a standard USB webcam, nothing special. I didn’t want to deal with routing a ribbon cable throughout the Jeep, so I decided against the standard Raspberry Pi Camera Module.
Samsung 64GB Micro-SD Card
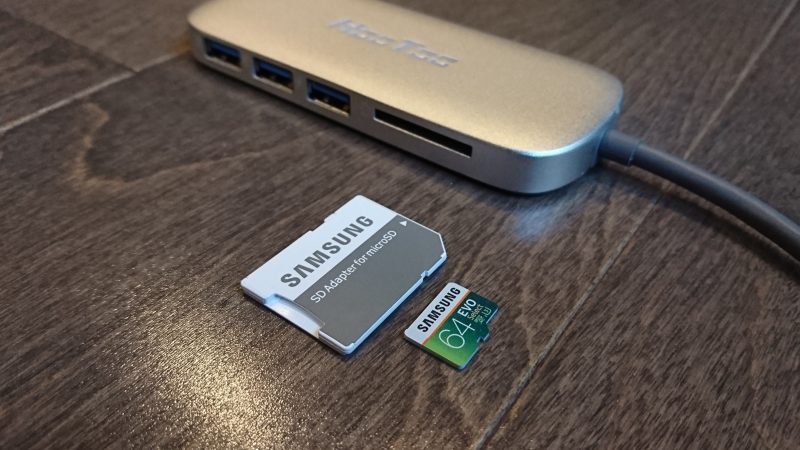
Video clips take up a lot of space. I planned to use an external harddrive to store recordings, but the Pi Zero W only has one mini-USB port for peripherals (the other is for power). So, I decided to store clips directly on an SD card. 64 GB is still quite limited, so I handle any space issues with Python scripts.
Prepping the Operating System
I started the process of building the dashcam by getting the operating system ready for configuration.
Install Raspbian OS on the SD Card
A Raspberry Pi is basically a miniature computer. So, any light-weight operating system would work just fine on it. Since a dashcam is a headless device (no GUI), I opted for a terminal-only version of Raspbian named Raspbian Lite.
The official Raspberry Pi docs do a great job explaining how to install Raspbian Lite on an SD card using a program named Etcher.
Enable WiFi and SSH in Raspbian
In order to download and install third-party tools on the Raspberry Pi, it needs to be connected to the internet. Raspbian can be set up to automatically connect to a wireless network when it boots.
It isn’t necessary, but I wanted to do programming and configuration on Raspberry Pi from my laptop. So, I took the extra time to enable SSH in Raspbian.
I wrote the instructions on enabling WiFi and SSH in Raspbian in another blog post.
Boot the SD Card
Once Raspbian is installed and set up to connect to the internet, the Raspberry Pi is ready to record video! Just put the SD card into the slot and boot it up.
Install ffmpeg in Raspbian
ffmpeg is a command-line utility for converting and streaming video. Since Raspbian Lite is terminal-only, ffmpeg is the best tool for reading video data from the webcam and saving it to the SD card.
It can be installed with:
sudo apt-get install ffmpegProgramming the Pi to Record Video
With Raspbian Lite and ffmpeg installed, the Pi is ready to be configured to actually record some video.
Create Python Script to Execute ffmpeg
The following script operates the basic video-recording functionality. In summary, the script will:
- Create a folder for recordings, unless it already exists.
- Create a new folder based on the current time to save video clips.
- Call
ffmpegfrom the command-line to take segments of video from the webcam into the new folder.
record.py:
#!/usr/bin/env python

import subprocess
import datetime
import os

ROOT_PATH = os.getenv("ROOT_PATH", "/home/pi")
RECORDINGS_PATH = os.getenv("RECORDINGS_PATH", "recordings")
DATE_FMT = "%Y_%m_%d_%H_%M_%S"
SEGMENT_TIME = 30
ENCODING = os.getenv("ENCODING", "copy")

os.mkdir(RECORDINGS_PATH)

new_dir = datetime.datetime.now().strftime(DATE_FMT)
recording_path = os.path.join(ROOT_PATH, RECORDINGS_PATH, new_dir)
os.mkdir(recording_path)

segments_path = os.path.join(recording_path, "%03d.avi")

command = "ffmpeg -i /dev/video0 -c:v {} -an -sn -dn -segment_time {} -f segment {}".format(ENCODING, SEGMENT_TIME, segments_path)

subprocess.call(command, shell=True)
For a deeper explanation of ffmpeg, refer to the official documentation. Here’s a brief summary of the arguments used in the Python script:
-i /dev/video0: Read input from the USB camera device.-c:v copy: Copy the video stream directly from the input device to the output file.-an -sn -dn: Omit audio, subtitles, and data.-segment_time 30 -f segment %03d.avi: Break video clips into 30-second segments.
Create Python Script to Clean Up Old Recordings
Drive space on an SD card is very limited. One solution is to replace older recordings with newer ones. The following script clears old videos, but only if more space is needed:
- Determine how much space is left on the device.
- If there is less than 25% of space left, we need to do some cleanup.
- Find the oldest folder of video clips and delete it.
purge_old_recordings.py:
#!/usr/bin/env python

import os
import shutil

ROOT_PATH = os.getenv("ROOT_PATH", "/home/pi")
RECORDINGS_PATH = os.getenv("RECORDINGS_PATH", "recordings")
PERCENTAGE_THRESHOLD = 25.0

statvfs = os.statvfs(ROOT_PATH)

free_bytes = statvfs.f_frsize * statvfs.f_bfree
total_bytes = statvfs.f_frsize * statvfs.f_blocks

free_bytes_percentage = ((1.0 * free_bytes) / total_bytes) * 100

if free_bytes_percentage < PERCENTAGE_THRESHOLD:
    recordings_path = os.path.join(ROOT_PATH, RECORDINGS_PATH)

    recordings = []
    for dir_name in os.listdir(recordings_path):
        recording_path = os.path.join(recordings_path, dir_name)
        recordings.append((recording_path, os.stat(recording_path).st_mtime))

    recordings.sort(key=lambda tup: tup[1])

    shutil.rmtree(recordings[0][0])
Make Raspbian Auto-Run Scripts on Boot
Assuming the scripts are saved in /home/pi (the default user and home directory), Raspbian can run them on startup by adding commands to /etc/rc.local:
python /home/pi/purge_old_recordings.py
python /home/pi/record.py &
These lines go right before the exit 0.
Now, when the Pi gets power, it will boot up Raspbian and automatically start recording video clips from the webcam by running our Python scripts.
Mounting and Wiring
I mounted the Raspberry Pi on the passenger side of the center console.
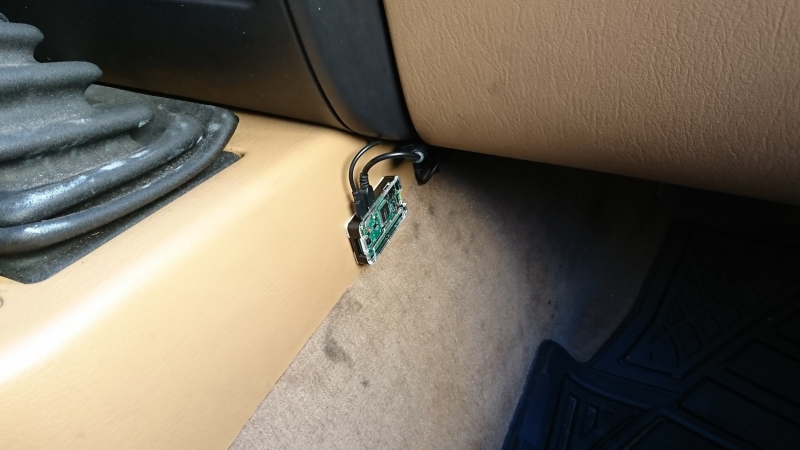
It’s close to the cigarette-lighter USB power adapter and in an easy place to route the wire for the webcam up to the dash.
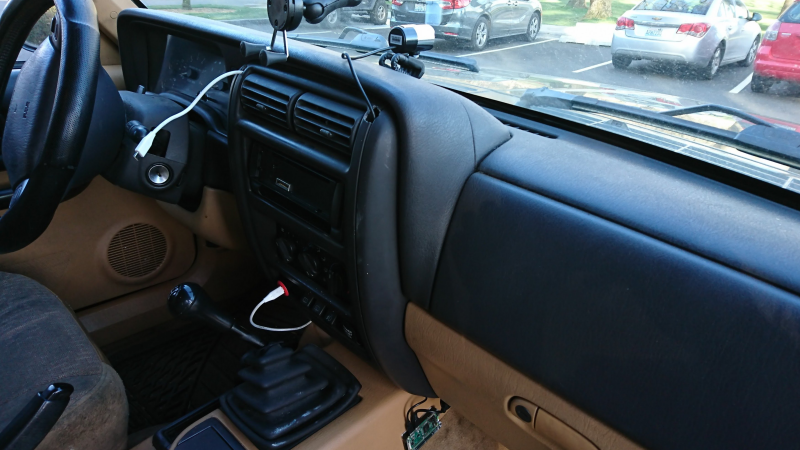
It’s a little rough-looking, but it works just fine. The footage is decent quality as well, capturing frames at a steady rate.

Conclusion
It isn’t the most sophisticated Raspberry Pi project, but making a dashcam was a great opportunity to finally tinker with my Pi Zero W!
I’m open to suggestions for any improvements I can make. Feel free to leave it in the comments!