Rails Development Environment with Docker Compose in Ubuntu 18.04
A long time ago, doing local web development was as simple as installing a framework and all its dependencies on my laptop. Now, I keep my development environments isolated from my local machine using containers via Docker. In the case where I need multiple services, I “orchestrate” the tech stack using Docker Compose. By using these tools, local web development is now easy and self-contained.
Recently, I dove back into Ruby on Rails and decided to document my process for getting a local development environment up and running. I thought I’d share it!
TL;DR
Here’s a Github repo with a Rails application built with Docker and Docker Compose.
Install Docker
We can install the default version of Docker from the Ubuntu repo:
sudo apt-get install -y docker.ioAlternatively, we can install the latest Docker engine by following these instructions.
Allow current user to run Docker commands
On Ubuntu, the docker command can only be run by root. To avoid having to type sudo docker all the time, add the current user to the docker group:
sudo usermod -aG docker ${USER}Install Docker Compose
We can install the default version of Docker Compose from the Ubuntu repo:
sudo apt-get install -y docker-composeAlternatively, we can install the latest Docker Compose by following these instructions.
After installing Docker and Docker Compose, it’s best to restart the system.
Create root folder for the project
This is the root folder of the project:
mkdir project/Create Rails application folder within project
We create a new folder for our Rails application within project:
mkdir project/web/The Rails application is in its own folder to keep the project folder framework-agnostic, in case there are other applications we want to add in the future.
Create Dockerfile
Within project/web/, create a file named Dockerfile:
FROM ruby:2.5

RUN apt-get update -qq && apt-get install -y build-essential nodejs

RUN mkdir /app
WORKDIR /app

COPY Gemfile /app/Gemfile
COPY Gemfile.lock /app/Gemfile.lock

RUN bundle install

COPY . /app
This tells Docker how to build the container. For a deeper dive on Dockerfile, see the official reference.
Create initial Gemfile and Gemfile.lock
Within project/web/, create a file named Gemfile:
source 'https://rubygems.org'
gem 'rails', '~> 6'
This file initially tells the container to install Rails using a tool called Bundler. Eventually, it will be overwritten. In addition to the Gemfile, an empty file named Gemfile.lock must be created:
touch Gemfile.lockFor a deeper dive on Gemfile and Gemfile.lock, see the official reference.
Create docker-compose.yml
Within project/, create a file named docker-compose.yml:
version: '3'
services:
  web:
    build: ./web
    command: bundle exec puma -C config/puma.rb
    volumes:
      - ./web:/app
    ports:
      - "3000:3000"
This YAML file tells Docker Compose how to build our containers. Currently, there’s only one: web. However, we can add more in the future by creating entries in this file (ex. PostgreSQL container, React frontend container).
For a deeper dive on docker-compose.yml, see the official reference.
Create new Rails application by running commands within the container
With all the proper files in place, create a new Rails application within the web folder via docker-compose:
docker-compose run web bundle exec rails new . --forceThis builds the container defined in docker-compose.yml and runs bundle exec rails new . --force within it, creating a new Rails application in the web directory. It take a couple of minutes to complete.
Note: this overwrites the existing Gemfile with the necessary dependencies for Rails.
Change ownership of Rails project files to current user
Because containers are run as root in Ubuntu, the files created by rails new are owned by root. To allow local editing of the Rails application files, change the owner of the files to the current user:
sudo chown -R $USER:$USER .Reinstall Rails-specific Gems within the container
Since the original Gemfile was overwritten, the container needs to install the new gems. This can be done by rebuilding the web container:
docker-compose up -d --no-deps --build webRun the local Rails development server
Finally, start the container:
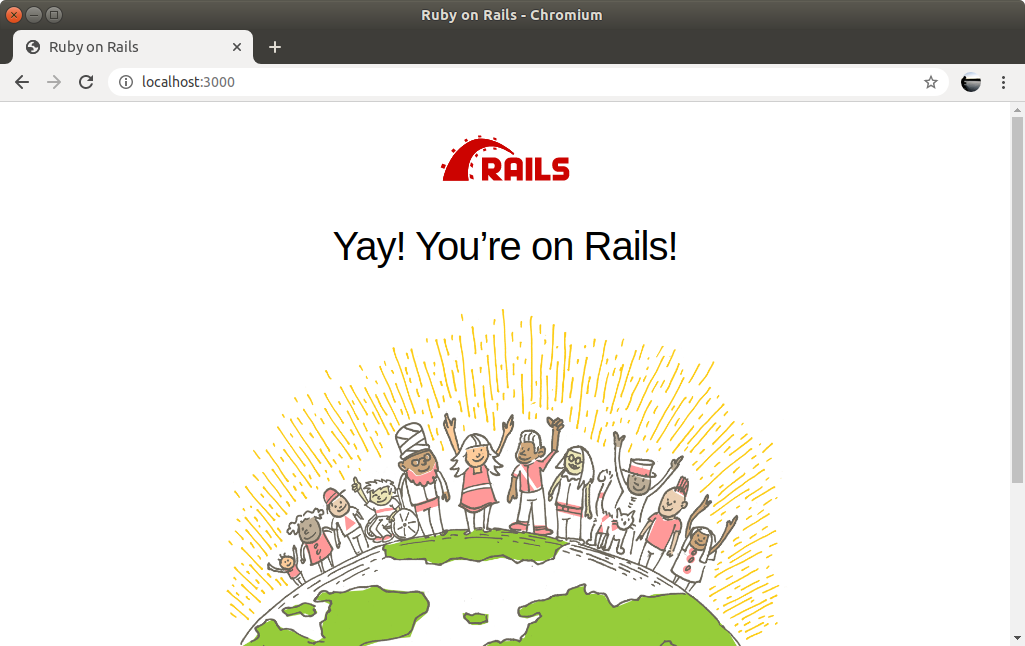
docker-compose upAnd visit http://localhost:3000. The default Rails homepage should show up: